

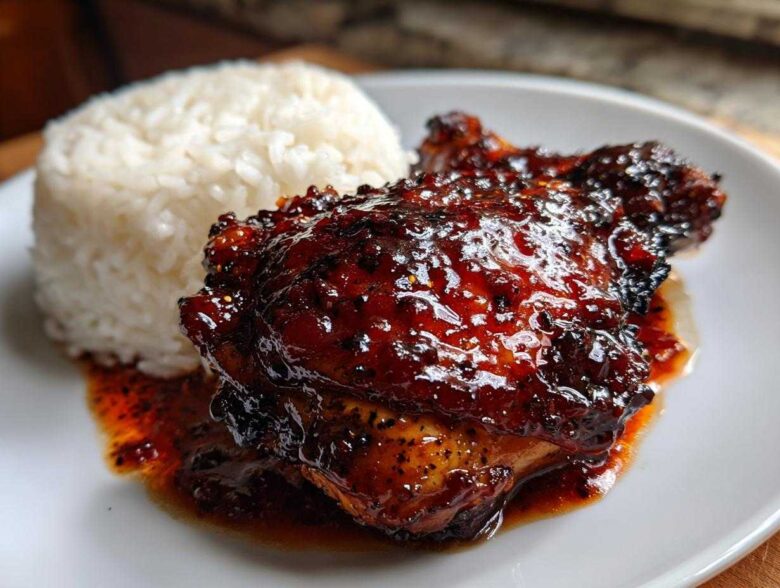
Oh, man, are you tired of the same old boring weeknight meals? Me too! That’s why I spent basically an entire month tweaking this simple chicken dish until I nailed the glaze. I absolutely insist on chicken thighs because they stay so juicy while they bake, even under that gorgeous sauce. If you’re looking for flavor tips while you’re here, you should check out my thoughts on the best chicken marinade for juicy, flavorful results!
We’re talking incredibly tender meat coated in a thick, sweet, and spicy lacquer that just clings perfectly. Seriously, this recipe for Sticky Sweet Chili Chicken Thighs with Rice is my absolute go-to for when I need dinner on the table fast but still want everyone begging for seconds. Trust me when I say that mastering that sticky texture is easier than you think, and serving it right over fluffy white rice makes it a complete, perfect meal. Let’s get cooking!
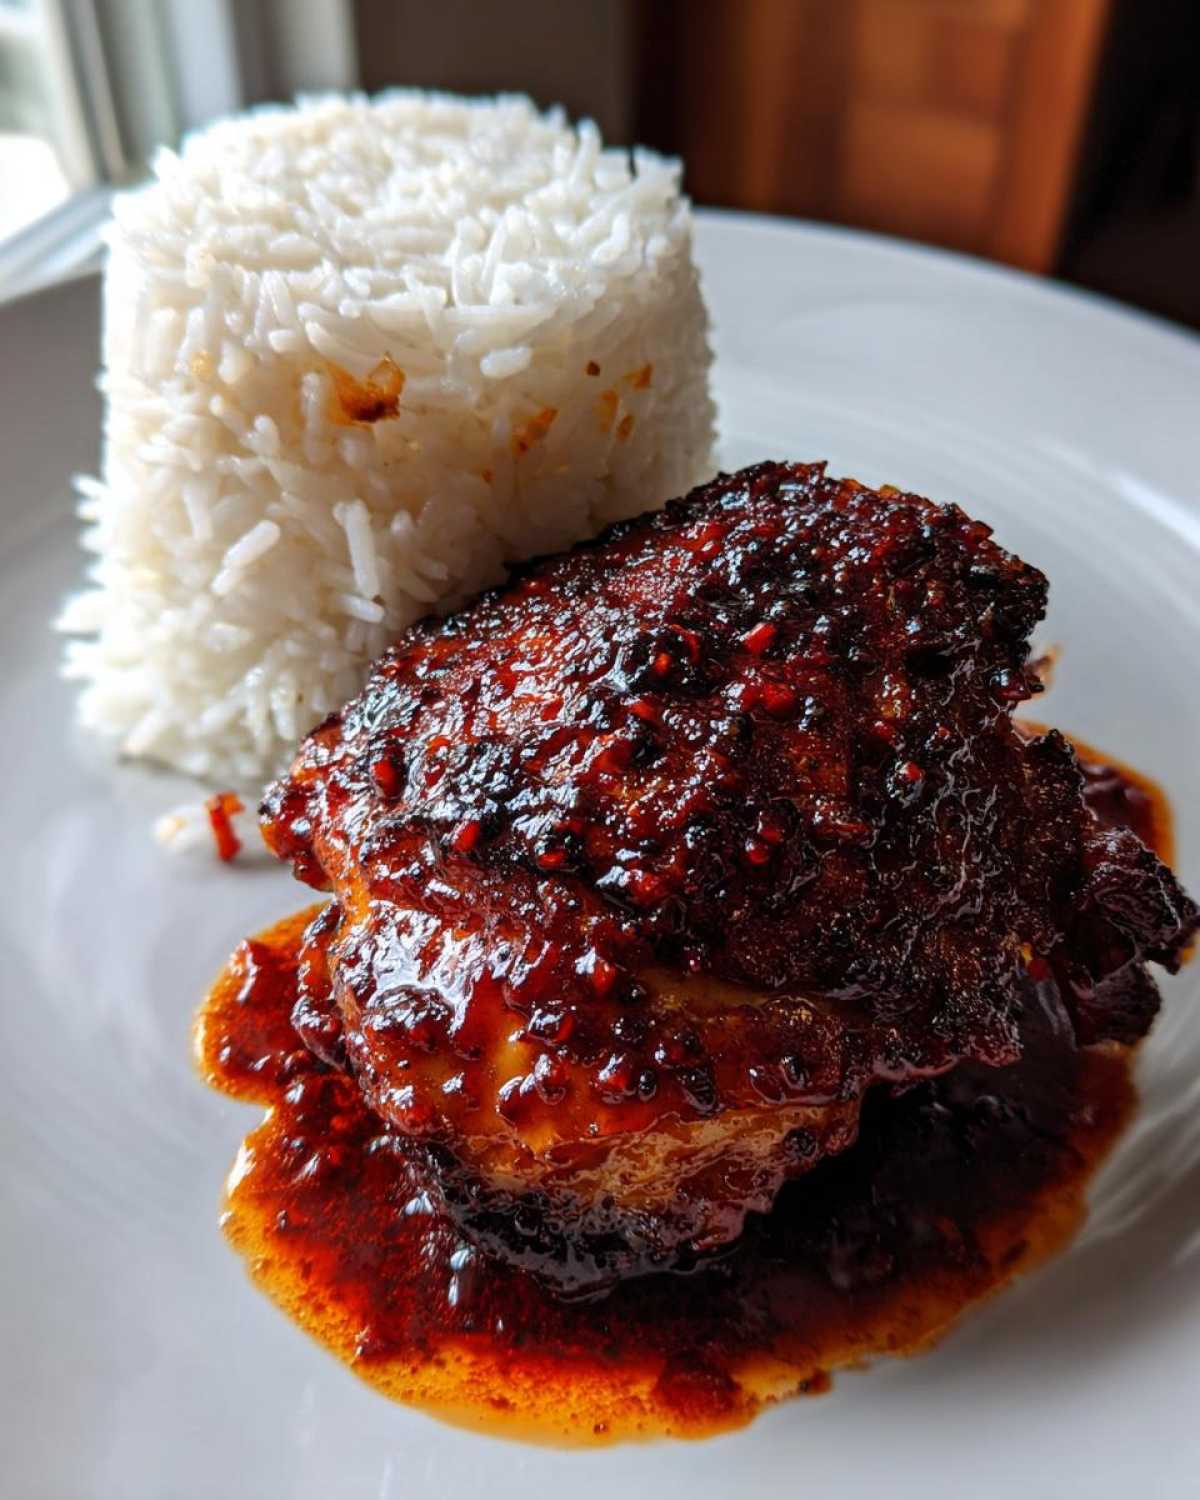
Why You Will Love This Sticky Sweet Chili Chicken Thighs with Rice Recipe
I honestly don’t know why I didn’t get this perfect sooner! This recipe delivers everything you need after a long day. It’s truly a stellar recipe for anyone needing quick weeknight chicken inspiration.
- The absolute best texture: Bone-in thighs stay moist, and that glaze gets wonderfully *sticky* without turning into burnt sugar.
- Perfect Flavor Balance: It hits that amazing sweet spot between spicy heat and deep sweetness that makes Asian-inspired sauces so addictive.
- One-Pan Magic (Mostly!): The chicken cooks mostly in one oven-safe skillet, which means way less scrubbing later—huge win in my book.
- It’s a Complete Meal: We mix the rice right in! No need to worry about what side dish to serve; the rice soaks up all those delicious pan drippings.
- Family Favorite Approved: Even my picky teenager dives into this one. The mild spice level is easily adjustable if you want more fire!
- Hands-Off Cooking: Once it’s seared, it goes into the oven. You can actually sit down and pour yourself a glass of wine while it finishes baking.
Essential Ingredients for Sticky Sweet Chili Chicken Thighs with Rice
Okay, the ingredient list for this dish is wonderfully short, which is exactly what I look for on a busy Tuesday night. The real secret is just having all the sauce components ready to go before the chicken even hits the hot pan. You’ll notice I call for bone-in, skin-on thighs—don’t skip the skin! That fat renders out beautifully during the sear and bake, adding so much flavor to the final glaze.
For ease, I’ve grouped the chicken and the sauce components together. If you’re looking for other super quick recipes, you might enjoy my guide on making easy homemade garlic breadsticks while the chicken bakes!
- For the Chicken: You need 6 bone-in, skin-on chicken thighs—they are the backbone of this flavor explosion. Plus a tablespoon of oil for searing, and just salt and pepper to start.
- The Sticky Sauce Base: We’re using half a cup of your favorite sweet chili sauce, a quarter cup of soy sauce for that salty depth, two tablespoons of honey (or brown sugar if you have that instead), and just one tablespoon of tart rice vinegar.
- Aromatics and Thickener: Don’t forget that flavor punch from one teaspoon of fresh ginger (grate it yourself!) and two cloves of minced garlic. Crucially, you need one teaspoon of cornstarch whisked vigorously with two teaspoons of cold water—that’s your magic slurry for the final glaze!
- The Rice: Finally, grab 2 cups of uncooked white rice and 4 cups of water to serve as the perfect bed for that sticky sauce.
Expert Tips for the Perfect Sticky Glaze for Chicken
If you came here looking for secrets on how to make sticky glaze for chicken that actually clings to the meat instead of just running off into the bottom of the pan, you are in the right place! The secret to a fantastic glazed chicken thigh recipe isn’t just the sugar content; it’s all about the cooking process and getting that moisture right before you introduce the thickener.
Achieving Crispy Skin Before Baking
You absolutely cannot skip the drying time. I mean it! Use paper towels and press hard to get every bit of moisture off that chicken skin. Wet skin steams, and steamed skin never gets crisp. Once the skin is dry, you toss it into that hot, oiled, oven-safe skillet. We want 5 to 7 minutes skin-side down, low and slow enough that it browns deeply but doesn’t burn before it even hits the oven. That initial sear locks in the structure we need for the fat to render perfectly later on.
Thickening the Sauce: The Slurry Technique
This is where we ensure the glaze is truly sticky and not just a thin, runny syrup. We save the cornstarch slurry—that little mixture of cornstarch and cold water—for the very, very end. After the chicken is fully cooked and out of the oven, you put the pan back on the stovetop. Pour that leftover sauce base (the raw half you saved) into the hot pan juices, bring it to a gentle simmer, and then drizzle in that slurry while whisking like crazy! Trust me, it goes from liquid to beautifully thick, glossy glaze in about 60 seconds. If you stop whisking too soon, you get lumps, and nobody wants lumpy glaze!
Step-by-Step Instructions for Sticky Sweet Chili Chicken Thighs with Rice
Okay, here it is—the process that turns simple chicken thighs into the most gorgeous dinner. Since we’re using an oven-safe skillet, we are cutting down on dishes, which is a huge win for any easy chicken dinner night! Just take your time with the searing step; that’s the key to success here. If you want more ideas for fast meals, check out my guide on the best quick chicken thigh dinner rotation!
Preparing the Chicken and Searing for Flavor
First things first, get that oven heating up to 400°F (200°C). While it warms, pat your chicken thighs completely dry—seriously, get them dry! Salt and pepper them generously all over. Grab a big oven-safe skillet, pour in your oil, and heat it over medium-high heat until it’s shimmering. Now, place those thighs skin-side down gently. We need 5 to 7 minutes here! You want that skin deep golden brown and crisp. Don’t rush it! Once they look fantastic, take the skillet right off the heat for a minute while we mix up the sauce.
Baking the Sticky Sweet Chili Chicken Thighs
While the chicken is searing, whisk together half of your sauce mixture (soy sauce, honey, ginger, garlic, etc.). Pour that raw sauce evenly over the seared chicken in the skillet, avoiding the crispy skin if you can. Pop the whole skillet into the oven for 20 minutes. Once that time is up, pull the skillet out—be careful of the hot handle! Brush the remaining raw sauce mixture over the chicken thighs now. Put it back in the oven for another 5 to 10 minutes until the internal temp hits 165°F (74°C). You’ll know it’s done when it feels firm but springs back slightly when pressed.
Cooking the Perfect Rice Side
While the chicken is busy baking in the oven, we make our rice side dish. Use a separate saucepan for this! Combine your 2 cups of white rice with 4 cups of water. Bring that combination up to a full rolling boil. Immediately reduce the heat way down to the lowest setting possible, slap the lid on tight, and let it simmer for 15 to 18 minutes until all that water disappears. Turn the heat off but—this is important—let it stand, still covered, for 5 minutes. This resting step makes the rice fluffy! Fluff gently with a fork before serving.
After the final bake, bring the skillet back to the stovetop over medium heat. Pour in your cornstarch slurry and stir constantly until that pan liquid turns into that gorgeous, thick, shiny coating. Spoon that amazing glaze right over your finished thighs, and serve them piled high on top of that fluffy rice!
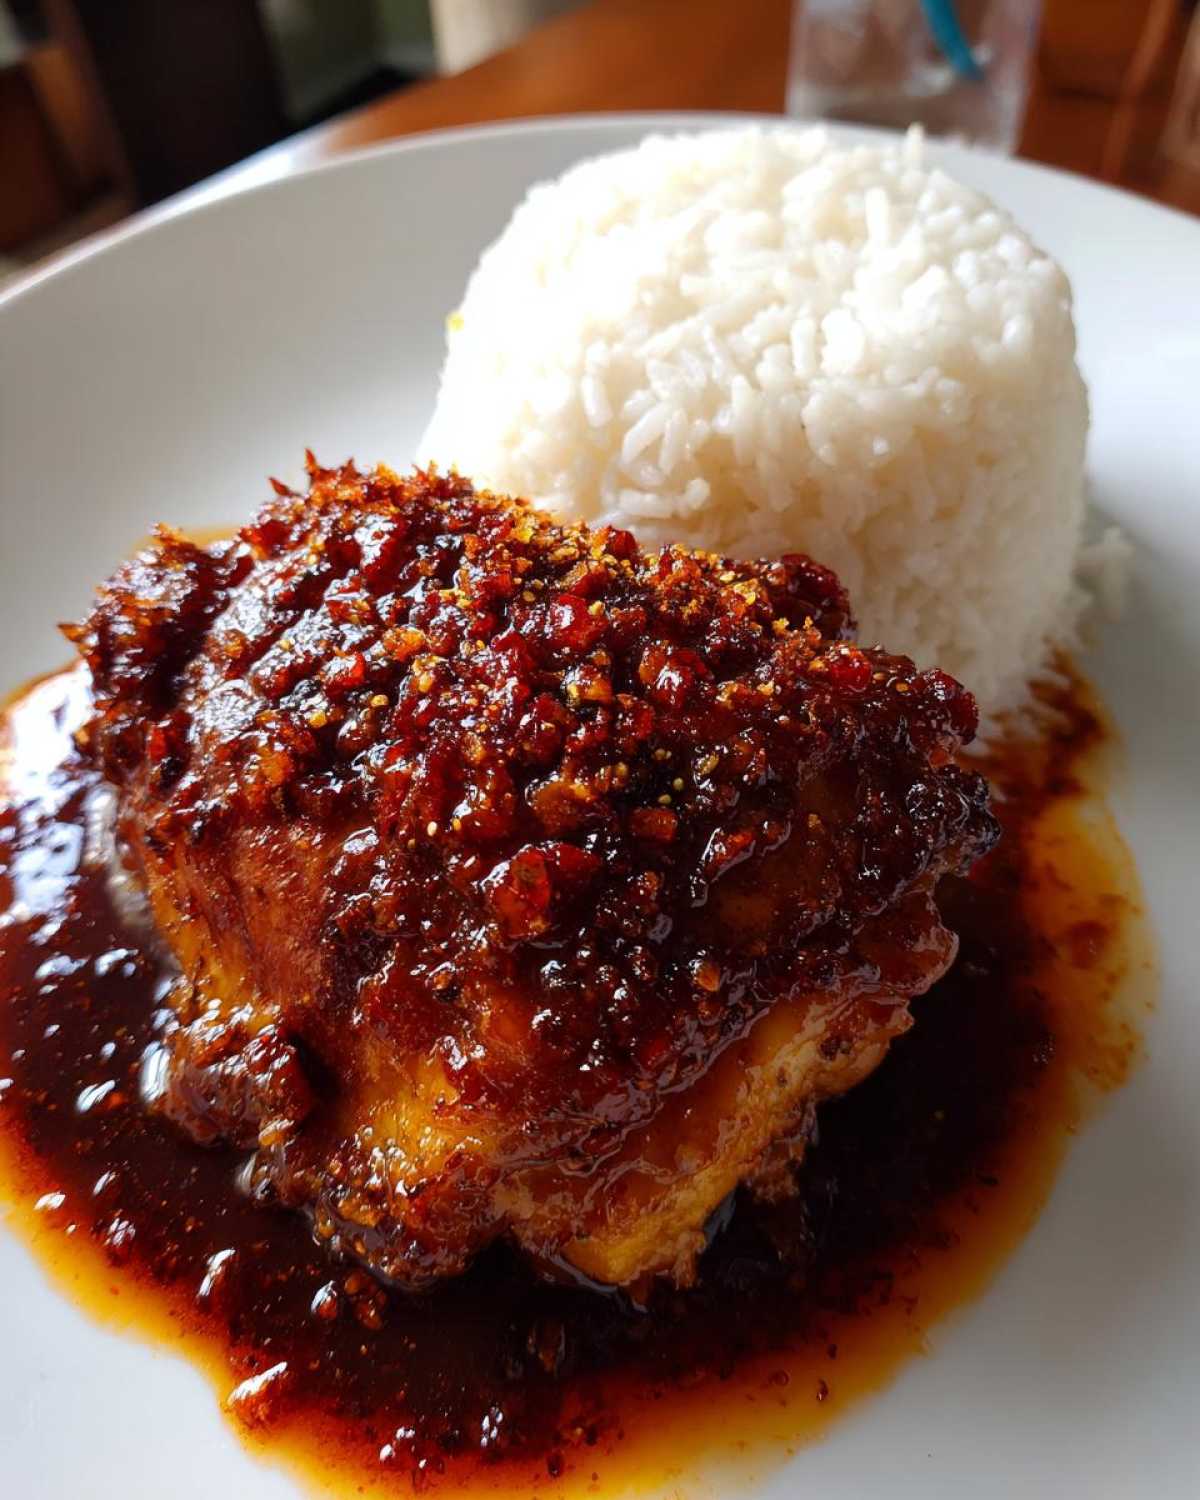
Variations for Your Sticky Asian Chicken Recipe
One of the best things about this particular sticky Asian chicken recipe is how forgiving it is! You don’t need to adhere to my exact notes every time; feel free to experiment based on what you have in the fridge or what flavor mood you’re in. Personalizing a recipe is what turns a good meal into *your* signature dish, you know?
For instance, if you find yourself all out of honey or just prefer a deeper molasses flavor, switching to dark brown sugar in the sauce works brilliantly. It adds just a little extra caramelized depth when baked. If you’re looking for other tropical twists you can put on chicken, you HAVE to check out my amazing coconut lime chicken recipe when you have a moment!
Playing with Spice Levels (Heat Control)
The standard sweet chili sauce gives a relatively mild kick, which is perfect for most people. But if you like heat like I do, you have a few easy options! My favorite is adding a teaspoon of Sriracha directly into the sauce mixture before the first bake. If you want less flavor change but more heat, simply stir in a half teaspoon of crushed red pepper flakes along with your ginger and garlic. Just remember, you want that heat to balance the sweetness, not completely blow out the palate!
Adding Veggies for a One-Pan Meal Boost
While I love serving this over plain rice, sometimes I want the vegetables cooked right alongside the chicken so everything gets coated in that sticky goodness. For this to work well with the oven timing, you need robust vegetables. About halfway through the baking time—say, around the 20-minute mark when you brush on the second layer of sauce—toss in some halved broccoli florets or thickly sliced onions right into the pan around the chicken thighs. Make sure they aren’t under the chicken, though; we need that skin to breathe and crisp up!
Switching Up the Sweetener and Acidity
Don’t panic if you’re out of rice vinegar! A tablespoon of fresh lime juice mixed in at the end adds a really bright, zesty cut through the richness of the glaze. For sweetness, maple syrup is a great swap; it behaves similarly to honey but adds a distinct, almost bourbon-like note, which is fantastic with the savory soy sauce. Just be careful: maple syrup browns faster than honey, so keep an eye on it during that final oven blast.
Serving Suggestions for Sticky Sweet Chili Chicken Thighs
We have the main event ready, right? Deliciously sticky sweet chili chicken thighs sitting perfectly atop a mound of fluffy rice. But honestly, a meal this rich and savory really needs something bright and fresh on the side to cut through that sugary glaze, otherwise, it can feel a little heavy. We’re aiming for balance here, folks!
My first instinct, especially on a weeknight, is to keep the side simple enough that it doesn’t compete with the main flavors. A crunchy, cool vegetable is the perfect counterpoint to the warm, sticky meat and rice. Keep it clean and green, and you’ve got a restaurant-quality plate!
The Best Green Vegetables to Balance the Sweetness
When deciding on greens, you want something that can handle a quick sauté or blanch. Steaming is fine, but a little bit of color and texture really wakes up the palate. I often whip up my quick easy broccolini with lemon and garlic recipe during the last 15 minutes the chicken is in the oven. The acidity from the lemon juice is just the right palate cleanser against the sweet chili.
If broccolini seems too fancy, simple blanched green beans tossed with a tiny pinch of salt and a drizzle of sesame oil work perfectly too. Or, if you want something crunchier, thinly sliced cucumbers tossed with a little rice vinegar and a sprinkle of toasted sesame seeds provides that cool snap we’re looking for.
Adding a Crisp, Fresh Slaw Element
If you have an extra five minutes, ditch the cooked vegetable and go for a fast slaw. This is my secret weapon for replicating that “take-out” feel at home. You don’t need a heavy mayonnaise dressing for this! Instead, just shred up some green cabbage and carrots (or buy a pre-shredded coleslaw mix to save time). Toss it lightly with a dressing straight from the pantry: one part rice vinegar, one part water, a tiny bit of sugar, and a dash of salt. That sharp, acidic crunch is sensational alongside the sweet and spicy glaze.
Don’t Forget the Garnish!
Never serve a glazed chicken dish naked! The garnish gives you an extra layer of texture and complexity right where you need it. While the chicken is finishing up in the glaze step, take a moment to chop up some green onions (scallions) and maybe some fresh cilantro if you like it. Sprinkle those generously over the top of the finished thighs and rice right before serving. Those contrasting colors—white onion, green herbs—make the whole plate look mouthwatering, and the fresh onion bite is just fantastic.
Storage and Reheating Instructions for Leftover Sticky Chicken Thighs
Okay, let’s talk about the leftovers, because let’s be real—sometimes making this sticky sweet chili chicken thighs with rice means we end up with enough for lunch the next day! And trust me, you’ll want to save these because the sauce actually gets a little deeper in flavor overnight once it settles into the chicken.
The main thing to remember when storing anything with a sticky glaze is that the sugar content means it can get a little weird if you leave it out too long—and we definitely don’t want bacterial issues! Always make sure those thighs are completely cooled down before you even think about covering them up. I learned that the hard way when my first batch got weirdly sweaty overnight.
How to Store for Maximum Freshness
The best way to store your leftovers is to separate the components if you can. If you have leftover rice and chicken, put them in separate airtight containers. If you used the rice as a bed for the chicken when you served it, go ahead and store them together, but just make sure the container seals tightly. You should get a solid 3 to 4 days out of these in the refrigerator. Don’t push it past Saturday if you made them on Tuesday night!
Make sure you ditch any sauce that has been sitting on the plate for hours just socializing outside the fridge. We are aiming for safety here, folks, so if it looks questionable, into the compost bin it goes.
Reheating: Oven vs. Microwave
This is the big decision, and frankly, the method you choose will totally determine the texture of your leftovers. If you choose the microwave, you’re going for speed, but you risk turning that gorgeous crispy skin into soggy rubber, and the glaze can get weirdly hot in spots.
My absolute top recommendation for reheating this glazed chicken thigh recipe is going back into a low oven or even an air fryer if you have one! Set your oven to about 300°F (150°C). Place the chicken thighs on a small baking sheet lined with foil or parchment (for easy cleanup later, naturally!). Heat them until they are warmed through, which usually takes about 10 to 15 minutes, depending on how thick the thighs are.
If the skin seems a little soft after reheating, pop it under the broiler for just 1 to 2 minutes—and I mean watch it like a hawk! That little blast of high heat will crisp it up and reactivate some of that sticky texture without drying out the meat underneath.
Reviving the Rice Side
When you reheat the rice, you might find it’s gone a bit hard or dry, which is normal because rice hates being refrigerated! If you are just heating a small portion, sprinkle just a teaspoon or two of water directly onto the rice before microwaving it for 60 seconds. The steam trapped in the microwave will revive the grains beautifully, making them soft again.
If you’re reheating a bigger batch on the stovetop, put the rice in a small saucepan with a splash of water or even some leftover chicken broth if you happen to have it, cover it, and heat it gently over low heat. Stirring occasionally keeps it from scorching on the bottom while it steams back to life.
Frequently Asked Questions About This Quick Chicken Thigh Dinner
Whenever I post this recipe online, people always have great questions about adapting it, which I absolutely love! It shows you’re thinking about how to make this the *perfect* meal for your specific situation. I’ve gathered the most common ones right here for you regarding our favorite oven baked sticky chicken thighs!
Can I use boneless, skinless chicken thighs instead?
Oh, yes, you totally can! I prefer the bone-in because that bone helps insulate the meat and keeps it from drying out while those sugars in the glaze are caramelizing. But if you only have boneless, skinless, go for it! You’ll need to drastically cut the time, though. Since they have no bone and no skin to contend with, they cook much faster. Cut your initial searing time down to maybe 3 minutes per side max. Then, in the oven, start checking them after just 15 minutes total. They’re usually done when they hit 165°F (74°C), which can happen quickly!
How do I make the sweet chili sauce spicier?
If you like some real fire in your sauce, that’s super easy to adjust! The standard sweet chili sauce is mild, so you just need to boost that heat factor in the base seasoning phase. My go-to addition is a good squirt of Sriracha—start with just a tablespoon, whisk it into the sauce mix, and give it a taste test before coating the chicken. If you want more of a dry heat flavor, add half a teaspoon of cayenne pepper or some crushed red pepper flakes along with your ginger and garlic. You’ll get a lovely sweet and spicy contrast that really makes the glaze pop. Remember, you can always add more heat later, but taking it out is impossible!
If you’re looking for more ways to get great oven-baked results, you might want to look at my guide on oven-baked sticky chicken thighs for other temperature and timing tips!
Estimated Nutritional Data for Sticky Sweet Chili Chicken Thighs with Rice
Now, I know some of you are tracking macros or making sure dinner fits into your nightly calorie goals, so I wanted to give you a general idea of what’s in this delicious meal. Keep in mind that this analysis is based on the exact ingredient list provided—especially using bone-in, skin-on chicken thighs, which means the fat content will naturally be higher than if you used lean breast meat!
This delicious dish provides a really hearty hit of protein alongside the carbs from the rice, and it’s perfect for fueling you up without leaving you feeling sluggish. It’s important for me to be upfront about this, so please treat these numbers as a helpful guide rather than a strict guarantee, just as good practice dictates for any recipe online!
- Serving Size: 1 thigh and 1/2 cup cooked rice
- Calories: Approximately 450
- Protein: Around 35g—that’s substantial!
- Fat: Around 20g (Remember, that includes the rich thigh skin fat which we love!)
- Carbohydrates: About 35g (mostly from the rice and the sugary glaze)
- Sugar: Roughly 18g (It’s sweet chili sauce, so watch that number!)
- Sodium: Approximately 650mg (Be mindful if you use low-sodium soy sauce!)
See? A fantastic balance of macros for a satisfying meal. Enjoy every sticky bite, and don’t sweat the numbers too much!
PrintSticky Sweet Chili Chicken Thighs with Rice

A simple recipe for tender chicken thighs coated in a thick, sweet, and spicy glaze, served with cooked white rice.
- Prep Time: 10 min
- Cook Time: 40 min
- Total Time: 50 min
- Yield: 4 servings
- Category: Main Course
- Method: Baking and Searing
- Cuisine: Asian-Inspired
- Diet: Low Lactose
Ingredients
- 6 bone-in, skin-on chicken thighs
- 1 tablespoon vegetable oil
- Salt and black pepper to taste
- 1/2 cup sweet chili sauce
- 1/4 cup soy sauce
- 2 tablespoons honey or brown sugar
- 1 tablespoon rice vinegar
- 1 teaspoon grated fresh ginger
- 2 cloves garlic, minced
- 1 teaspoon cornstarch mixed with 2 teaspoons cold water (slurry)
- 2 cups uncooked white rice
- 4 cups water (for rice)
Instructions
- Preheat your oven to 400°F (200°C). Pat the chicken thighs dry with paper towels and season both sides with salt and pepper.
- Heat the vegetable oil in a large, oven-safe skillet over medium-high heat. Sear the chicken thighs skin-side down for 5 to 7 minutes until the skin is golden brown and crisp. Remove the skillet from the heat.
- While the chicken sears, prepare the sauce: In a small bowl, whisk together the sweet chili sauce, soy sauce, honey (or brown sugar), rice vinegar, ginger, and garlic.
- Pour half of the sauce mixture over the chicken thighs in the skillet, ensuring the skin side is coated but not submerged.
- Transfer the skillet to the preheated oven and bake for 20 minutes.
- While the chicken bakes, cook the rice: Combine 2 cups of rice and 4 cups of water in a saucepan. Bring to a boil, then reduce heat to low, cover, and simmer for 15 to 18 minutes until water is absorbed. Let stand, covered, for 5 minutes before fluffing.
- After 20 minutes of baking, remove the chicken from the oven. Brush the remaining half of the raw sauce mixture over the chicken.
- Return the chicken to the oven and bake for another 5 to 10 minutes, or until the internal temperature reaches 165°F (74°C).
- Remove the skillet from the oven. Place it on the stovetop over medium heat. Pour the cornstarch slurry into the pan juices and bring to a simmer, stirring constantly until the sauce thickens into a sticky glaze, about 1 minute. Spoon this glaze over the chicken thighs.
- Serve the sticky sweet chili chicken thighs immediately over the prepared rice.
Notes
- For extra crisp skin, place the chicken under the broiler for the last 1-2 minutes after glazing, watching closely to prevent burning.
- You can substitute brown rice, but adjust the cooking time according to package directions.
- This sauce thickens best when it reduces slightly in the pan during the final minutes of cooking.
Nutrition
- Serving Size: 1 thigh and 1/2 cup cooked rice
- Calories: 450
- Sugar: 18
- Sodium: 650
- Fat: 20
- Saturated Fat: 6
- Unsaturated Fat: 14
- Trans Fat: 0
- Carbohydrates: 35
- Fiber: 1
- Protein: 35
- Cholesterol: 120