

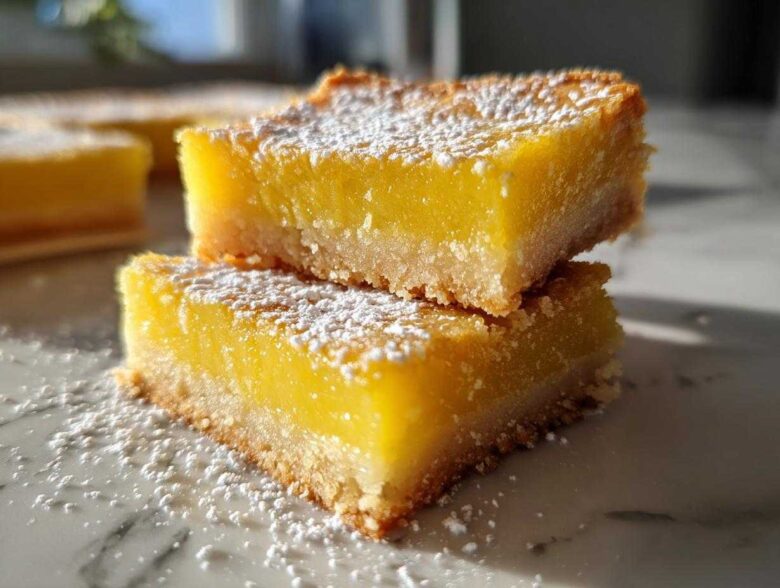
Oh my gosh, you are going to love these! I swear, achieving that perfect, buttery, slightly crumbly base when baking gluten-free used to feel like solving an impossible equation. For years, every GF lemon bar I tried ended up either dissolving into sand or having this weird, gummy texture. That stops today, my friend. This recipe is my absolute gold standard for Gluten-Free Lemon Bars with Shortbread Crust, and I’ve tweaked it until the crust stands up to the tart, sunny filling like a champion. Trust me, you won’t miss the wheat one bit!
I spent what felt like a thousand weekends in the kitchen just focused on the base. But when you finally nail that buttery shortbread flavor that holds together when you lift it out of the 8×8 pan? Pure magic. It’s the best! Don’t forget, if you’re interested in other easy GF triumphs, check out my guide on almond flour pancakes—same dedication to texture!
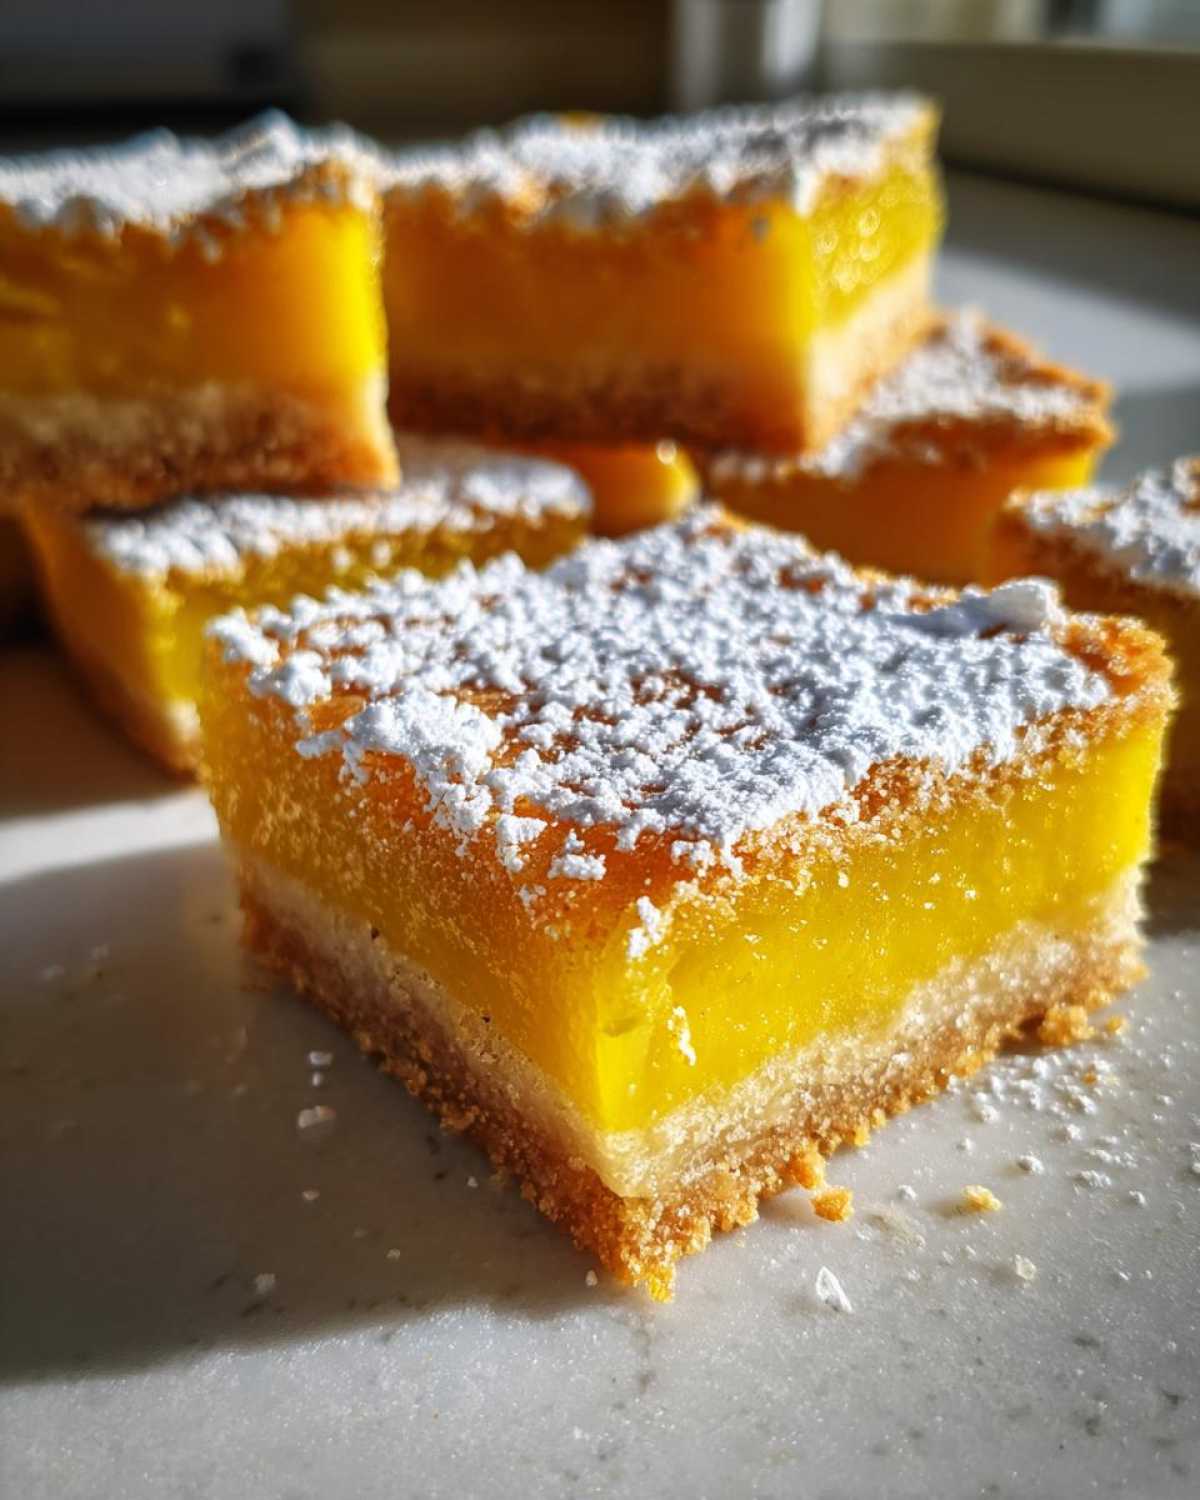
Why This Gluten-Free Lemon Bars with Shortbread Crust Recipe Works (E-E-A-T)
The difference here isn’t just random luck; it’s about solving those classic gluten-free baking headaches! My previous attempts at lemon squares no wheat ended up with either a filling that wouldn’t set or a crust that shattered. Not this time. We are nailing the texture!
The secret to the best gluten free shortbread crust is pairing the right GF flour blend with very cold butter and that single egg yolk—it acts almost like a binder, which GF doughs desperately need. This little trick prevents the dreaded soggy bottom or the overly crumbly shortbread result.
And those runny centers? Gone! For perfectly set lemon bars, you have to pre-bake that crust—it seals it up like a tiny flavor dam. Also, that one teaspoon of baking powder in the filling isn’t for lift; it helps solidify the lemon custard just enough when it cools. For an extra layer of science, I always suggest chilling the finished bars for a full two hours. It’s non-negotiable for clean slices!
If you want more foolproof ideas, my general guide on easy gluten free baking has tons of helpful tricks!
Gathering Ingredients for Gluten-Free Lemon Bars with Shortbread Crust
Okay, this is where the real action starts, but don’t let the ingredient list scare you! It looks long, but it’s really just two simple parts: the base and the sunshine layer. For the crust, we absolutely have to use a reliable gluten-free all-purpose blend that already has xanthan gum in it; this makes all the difference in texture. And remember what I said about cold butter? It needs to be super cold and cubed up, almost like tiny, pale rocks, to get that flaky structure!
When you look at the filling components, the most crucial thing you can focus on is the lemon juice. If you can, skip the bottled stuff! Freshly squeezed juice is what brightens up these sweet and tart dessert bars and gives the filling that perfect electric zing. If you want to check out my favorite citrus squeezing method, I talk about it a bit when I make lemon scones—it really helps.
Ingredients for the Buttery Shortbread Base Recipe
For this essential foundation, make sure that stick of unsalted butter is cubed and ice cold! We need 1 1/2 cups of your favorite GF flour blend (the one with the gum!), 1/2 cup of granulated sugar, just a pinch of salt to balance things out, and one single large egg yolk.
Ingredients for the Tart Lemon Filling Instructions
This vibrant top layer requires 1 1/2 cups of lovely, bright granulated sugar matched with 1/4 cup more of that same GF blend. We are also tossing in 1 teaspoon of baking powder—this little component is key here because it helps ensure the tart lemon filling instructions result in a dessert that sets beautifully firm, not watery! And don’t forget 4 large eggs, 1/2 cup of that fresh lemon juice we talked about, and 1 tablespoon of zest for extra fragrance. Save your powdered sugar for the very, very end!
Step-by-Step Instructions for Gluten-Free Lemon Bars with Shortbread Crust
This is where we transform those ingredients into the best gluten-free dish you’ve ever made! While the process is straightforward, you need to respect the timing—especially that two-step baking process. If you rush the crust, it just won’t hold up to the wet filling. Don’t worry, following these exact steps ensures you get those beautiful, clean-cutting lemon squares no wheat!
Remember that amazing lemon pound cake I have? The principle is similar: build the structure first, then pour in the flavor. We need that 8×8 inch pan lined with parchment paper, ensuring there’s an overhang sticking up on two sides. That parchment is your best friend for lifting these out later in one perfect piece!
If you want to see my favorite blending tools, I often talk about my preferred mixers over on my lemon pound cake how-to page.
Preparing and Pre-Baking the Gluten Free Shortbread Crust
First things first: preheat your oven to 350°F (175°C). Now, for the crust! You whisk your flour blend, 1/2 cup of sugar, and salt together first. Then comes the fun part: cutting in that cold butter! I use my fingers for this because I can really feel when the texture is right—you want coarse crumbs, like wet sand, with some pea-sized butter pieces still visible. Don’t let it get mushy! Mix in that single egg yolk until the dough just barely holds together when you squeeze it.
Press that dough *firmly* and evenly across the bottom of your lined pan. Firm is key here if you want to avoid that crumbly shortbread crust gluten free disaster! Pop that into the hot oven for 15 minutes. You’re only pre-baking it until it’s just lightly golden. Pull it out, but keep that oven running—we aren’t done yet!
Mixing and Baking the Perfectly Set Lemon Bars Filling
While the crust gets its head start, whisk together your 1 1/2 cups sugar, the remaining 1/4 cup flour blend, and the baking powder in a separate bowl. Add the eggs, the fresh lemon juice, and the zest, and whisk everything until it looks smooth and glossy. Seriously, stop whisking right when you don’t see any streaks of sugar or egg white anymore; over-mixing activates the gluten substitute too much!
Gently pour that sunny mixture right over your warm, pre-baked crust. Back into the oven it goes for about 20 to 25 minutes. You are watching for the edges to look firm, but I need you to look closely at the very center—it should still have a *tiny* bit of a wobble, that tell-tale sign of perfectly set lemon bars when they cool down!
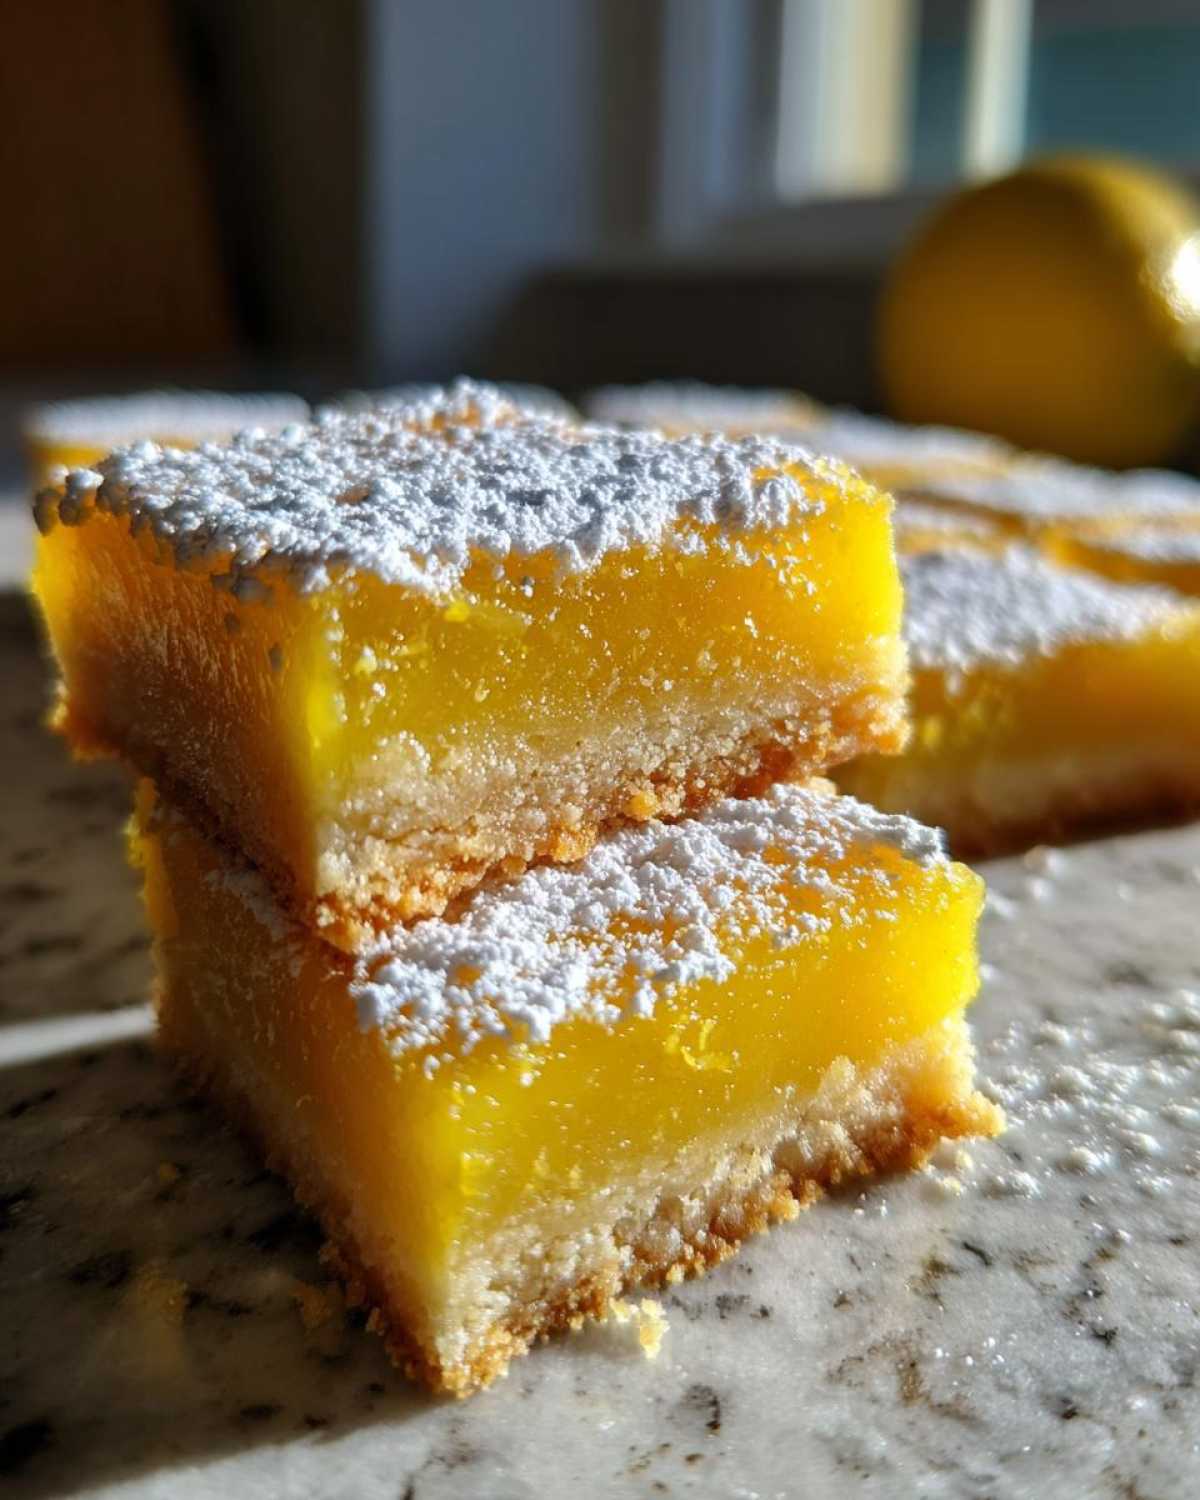
This is the hardest part: patience! Let these bars cool completely on the counter for about an hour. Then, you absolutely must move them to the fridge for at least two hours. Chilling is what finalizes the texture so they slice beautifully. Once they are stone cold, use those parchment overhangs to lift them out, dust heavily with powdered sugar, and slice into 16 squares!
Tips for the Best Gluten Free Lemon Bars with Shortbread Crust
I know GF baking can be intimidating, but these bars are so forgiving once you know the little secrets! The biggest tip I can give you, which I already hinted at, involves that flour blend. If your package doesn’t explicitly list xanthan gum, you must add about a half teaspoon to the crust ingredients. Without it, you get that sad, dry, overly crumbly shortbread crust gluten free texture we are trying to avoid. That gum acts like the ‘glue’ that regular flour handles automatically!
Also, let’s talk acid quality. Please, please use fresh lemon juice. Bottled juice is often pasteurized and changes the chemical balance, which can definitely affect how your filling sets up. If you used fresh, you should have no issue getting those perfect slices. However, if you’re experimenting with different starches, like maybe trying a specialized baking with almond flour and rice flour blend, you might need to chill your bars a little longer.
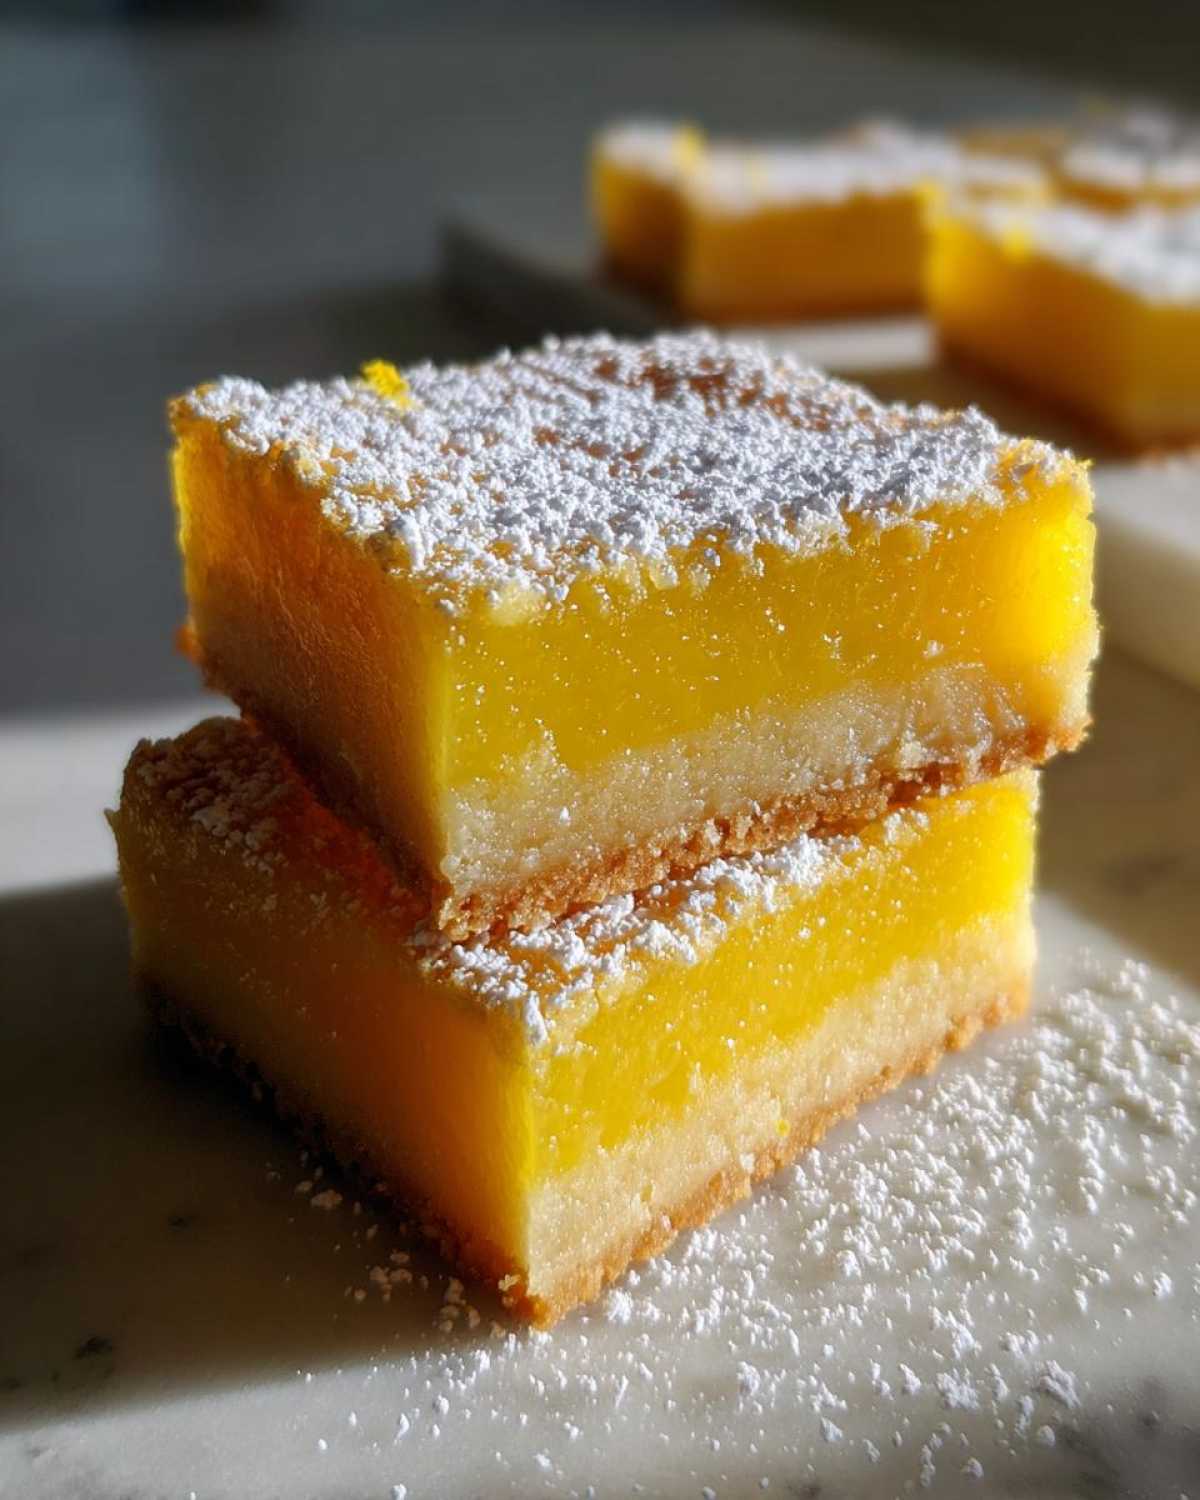
If you find your filling is slightly too tart after tasting a small bit before baking (crazy, I know!), don’t panic! Just whisk in an extra tablespoon of water right at the end, but don’t touch the sugar or lemon amount, or you’ll mess up the final set. Consistency is everything with these homemade gluten free dessert bars!
Storage and Serving Suggestions for Your Homemade Gluten Free Dessert Bars
Now that you’ve successfully baked and chilled these beauties, how do you keep that perfect structure? First rule: these need to live in the fridge! Because the filling relies on that chilling time to become firm, leaving them on the counter too long messes with that beautiful set. I keep mine tightly covered in an airtight container in the refrigerator, and honestly, they are fantastic for four or five days!
Do I ever reheat them? Nope! That’s the beauty of a great bar cookie base—they don’t need it. They are designed to be served cool and firm. If you happen to leave them out for half an hour before a party, don’t panic, they’ll soften slightly but usually firm right back up once popped back in the cold.
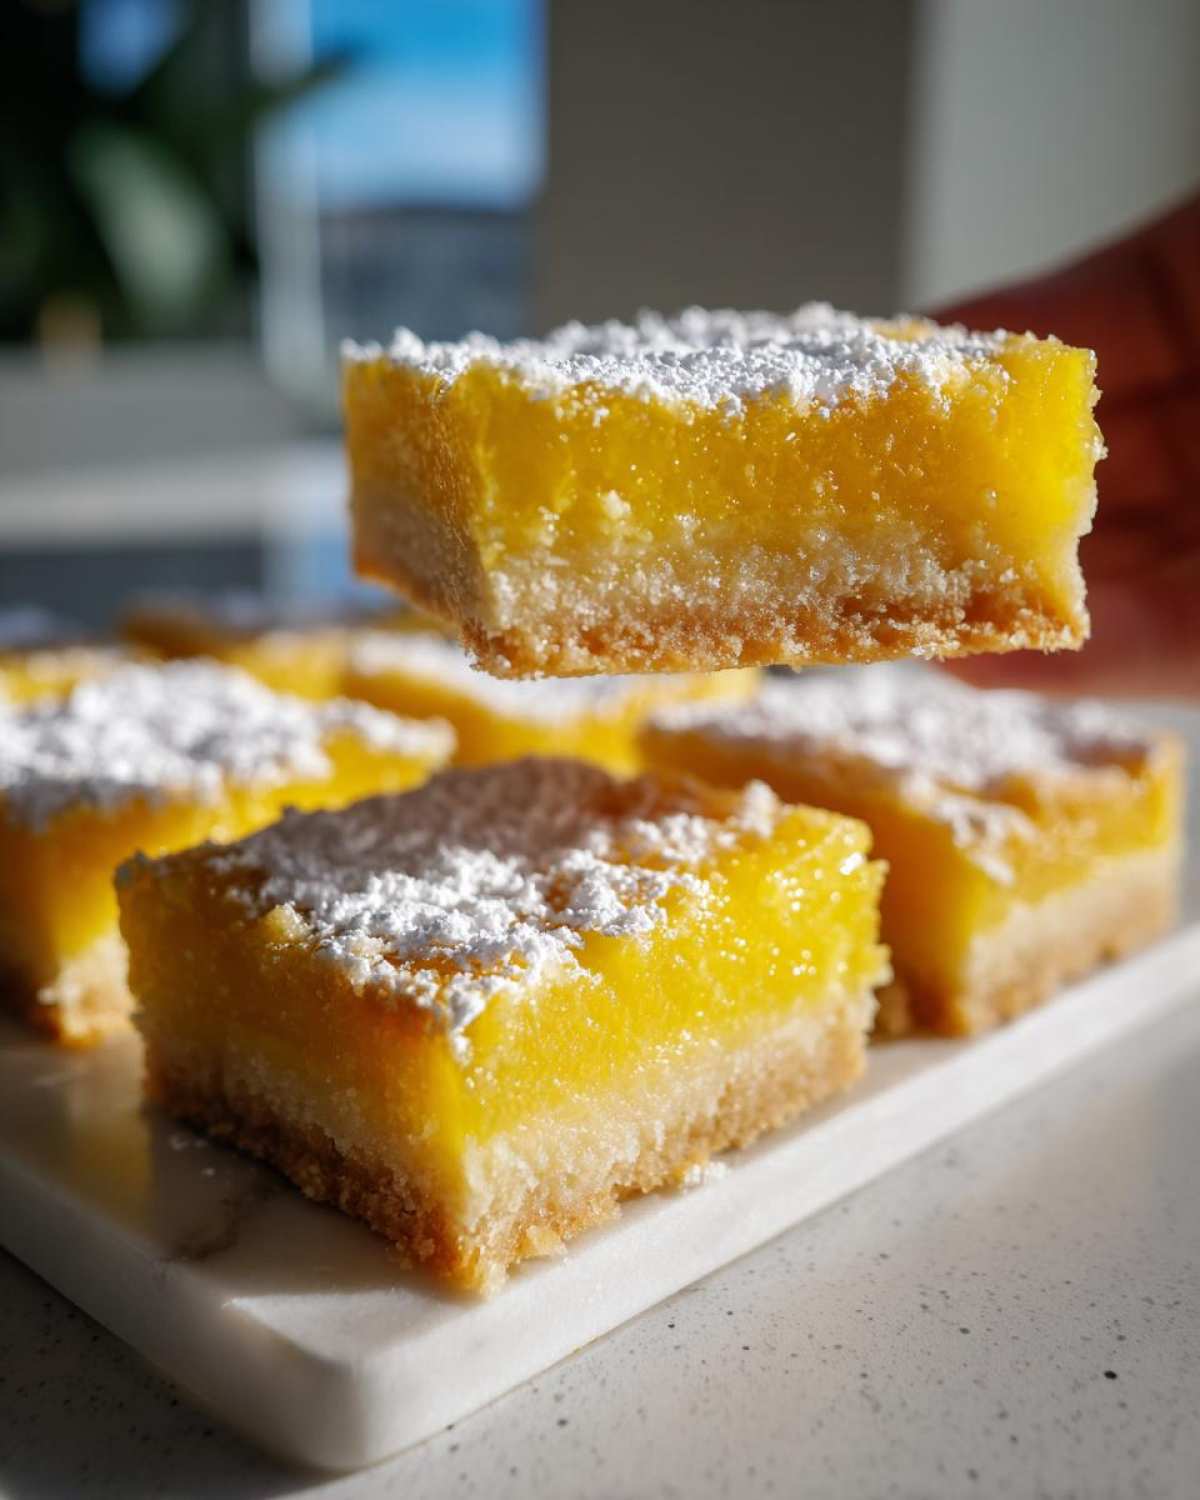
When it’s time to serve these incredible sweet and tart dessert bars, make sure you dust them generously with powdered sugar right before bringing them out to the guests. That little white cloud against the bright yellow lemon is the perfect finishing touch. If you ever need ideas for storing other chilling-based desserts, my guide on no-bake cheesecake bites has some great storage workflow tips!
Frequently Asked Questions About Gluten Free Lemon Bars Recipe
Can I use a different GF flour blend for the shortbread crust?
That’s a great question, and it’s where things can get tricky with gluten-free baking! For the absolute best results, especially aiming for that crumbly-yet-firm texture of a true shortbread, you must use a blend that already contains xanthan gum. Think of it as the backbone for your crust. If you use a pure rice flour or almond flour by itself, you will definitely end up with a dry, broken crust—that’s why we talk about avoiding a crumbly shortbread crust gluten free texture!
I followed the recipe, but why is my lemon filling runny?
If you’re dealing with a soft center that won’t slice cleanly, nine times out of ten, it comes down to two things: not chilling long enough, or not pre-baking the crust! Remember, the filling needs time for the eggs to fully set up firm, and that only happens when it’s cold. If you’ve chilled it for hours and it’s *still* soupy, you might have used bottled lemon juice instead of fresh, or perhaps you forgot that little teaspoon of baking powder needed for the perfectly set lemon bars. Definitely re-chill them for another hour!
What is the best way to cut them cleanly so the layers don’t squish?
This is the secret to making your homemade gluten free dessert bars look magazine-worthy! First, they must be completely cold—I mean fridge-cold from being in there for at least two hours. Second, grab the sharpest knife you own, preferably one that’s thin. Before every single cut, wipe the knife blade clean and dip it in hot water, then wipe it dry again. That hot blade melts just enough of the filling to glide through cleanly without pulling the layers apart. It works wonders!
Can I make these ahead of time, and how should I store them?
Yes, you absolutely can make these ahead! In fact, I really believe they taste better on Day Two. Store them tightly covered in the refrigerator. They keep wonderfully for about four days because, for desserts for celiac diet, refrigeration keeps everything stable.
If you’re looking for more information on general tips and tweaks for successful gluten-free baking, I put together a huge resource over on the blog!
Nutritional Estimates for Gluten-Free Lemon Bars with Shortbread Crust
I always keep a rough eye on the numbers, even when I’m making something purely decadent like these lemon bars. Honestly, when you use that much butter in the shortbread base, you know you’re in rich territory, but wow, is it worth it! These estimates are just for one little square—one of the 16 we cut—so enjoy it!
Remember, these numbers are just estimates based on standard pantry ingredients. If you decide to use a different brand of GF flour or substitute sugar, things will shift a bit. But in general, this gives you a good baseline for what’s in this amazing treat:
- Serving Size: 1 bar
- Calories: 220
- Sugar: 20g (Yes, they’re sweet, they are lemon bars!)
- Total Fat: 10g
- Saturated Fat: 6g
- Carbohydrates: 32g
- Protein: 3g
- Cholesterol: 60mg
I try not to dwell too much on the numbers, though. When something tastes this bright and zesty, and the crust melts perfectly in your mouth, that’s the real win for me!
Share Your Gluten-Free Lemon Bars with Shortbread Crust Creations
Now that you have the full scoop on how to master the buttery crust and that perfectly tart filling, I really, really want to see what you whip up! We’ve shared the secrets to making these amazing Gluten-Free Lemon Bars with Shortbread Crust, and the best part of my day is hearing from you all.
Did you manage to get those super clean slices? Tell me how it went! Seriously, please head down to the comments section below and let me know what you thought. If you followed the recipe exactly, feel free to leave a five-star rating for the recipe—that helps other bakers find it!
And hey, if you took a picture of your beautiful sunny squares, snap a photo and tag me on social media! I love seeing how you use the recipe. Even if you made a tiny modification—maybe you added a touch more zest or used a specific GF flour blend that you loved—share it! We’re all in this wonderful, slightly floury baking world together, and sharing tips is what keeps us all going. If you ever have questions about the recipe or need a little extra help, you can always reach out directly through my contact page.
Happy baking, and enjoy every zesty, buttery bite!
PrintGluten-Free Lemon Bars with Shortbread Crust
A reliable recipe for making tart lemon bars with a rich, buttery gluten-free shortbread crust that sets perfectly.
- Prep Time: 20 min
- Cook Time: 35 min
- Total Time: 55 min
- Yield: 16 bars
- Category: Dessert
- Method: Baking
- Cuisine: American
- Diet: Gluten Free
Ingredients
- For the Crust: 1 1/2 cups gluten-free all-purpose flour blend (containing xanthan gum), 1/2 cup granulated sugar, 1/4 teaspoon salt, 1/2 cup (1 stick) cold unsalted butter, cubed, 1 large egg yolk
- For the Filling: 1 1/2 cups granulated sugar, 1/4 cup gluten-free all-purpose flour blend (containing xanthan gum), 1 teaspoon baking powder, 4 large eggs, 1/2 cup fresh lemon juice, 1 tablespoon lemon zest, Powdered sugar for dusting
Instructions
- Preheat your oven to 350°F (175°C). Line an 8×8 inch metal baking pan with parchment paper, leaving an overhang on two sides for easy removal.
- Prepare the Crust: In a medium bowl, whisk together the 1 1/2 cups flour blend, 1/2 cup sugar, and salt. Cut in the cold butter using a pastry blender or your fingers until the mixture resembles coarse crumbs.
- Mix in the egg yolk until the dough just comes together. Press the dough evenly into the bottom of the prepared pan.
- Bake the crust for 15 minutes until lightly golden. Remove from the oven and set aside while you prepare the filling. Keep the oven on.
- Prepare the Filling: In a separate bowl, whisk together the 1 1/2 cups sugar, 1/4 cup flour blend, and baking powder.
- Add the eggs, lemon juice, and lemon zest. Whisk until the mixture is smooth and well combined. Do not over-mix.
- Pour the lemon filling evenly over the warm, pre-baked crust.
- Bake for an additional 20 to 25 minutes. The filling should be set around the edges but still have a slight jiggle in the center.
- Cool the bars completely on a wire rack at room temperature (about 1 hour).
- Chill the bars in the refrigerator for at least 2 hours, or until the filling is firm.
- Lift the bars out of the pan using the parchment overhang. Cut into 16 squares. Dust generously with powdered sugar before serving.
Notes
- Use a gluten-free flour blend that already includes xanthan gum for the best shortbread texture. If your blend does not contain it, add 1/2 teaspoon of xanthan gum to the crust ingredients.
- For a firmer crust, chill the dough for 15 minutes before pressing it into the pan.
- Ensure your lemon juice is fresh; bottled juice changes the flavor and setting consistency.
- If you prefer a less tart bar, reduce the lemon juice slightly and add 1 tablespoon of water.
Nutrition
- Serving Size: 1 bar
- Calories: 220
- Sugar: 20
- Sodium: 65
- Fat: 10
- Saturated Fat: 6
- Unsaturated Fat: 4
- Trans Fat: 0
- Carbohydrates: 32
- Fiber: 1
- Protein: 3
- Cholesterol: 60