

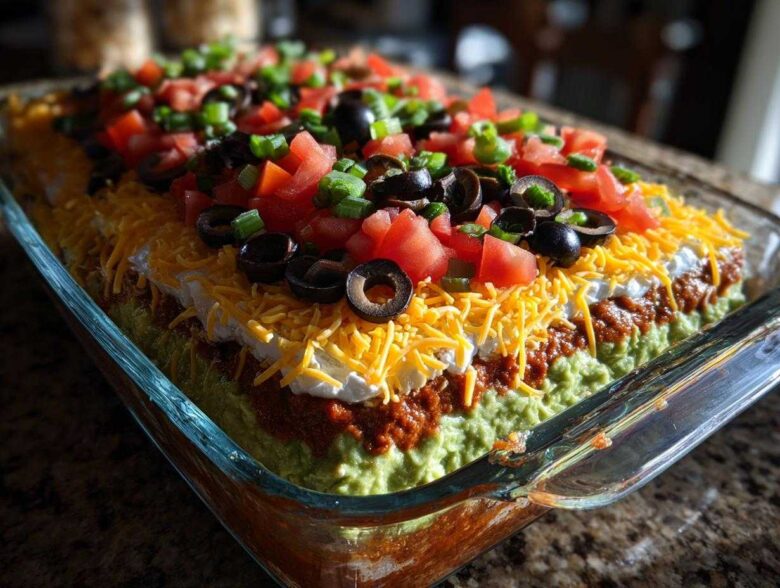
You know that moment at a party? You set out a beautiful spread, and everyone gravitates toward one specific dish that vanishes before you can even grab a chip. For Liam and me, that dish is almost always the **seven layer dip**. Seriously, whether we’re hosting game night or going to a massive BBQ, this Tex-Mex icon is the first thing to disappear. It’s just pure magic when you get that perfect scoop that captures every single flavor profile—creamy beans, zesty guac, tangy sour cream, and that bright pop of fresh topping.
When I first started cooking, I was terrified of layering anything because I thought the lines would bleed together and look like muddy brown soup. Oops! But after making this dip dozens and dozens of times for Liam’s work events, I figured out the foolproof assembly process. We put together this guide to show you exactly how to stack up this amazing appetizer so that every scoop you dig out shows off those beautiful, distinct layers. Trust me, this recipe for the perfect **seven layer dip** is going to be your new party MVP. Check out our story to see how we learned to deliver comfort through food!
Why This Is the Best 7-Layer Dip for Your Party
When you’re counting on a dish to perform at a busy gathering, you need reliability. This isn’t just some haphazard mix in a bowl; this is structured Tex-Mex architecture! The real appeal of our **seven layer dip** is that it holds up beautifully as people dig in. Liam always notices that other dips turn soupy halfway through the evening, but our structure keeps everything neat.
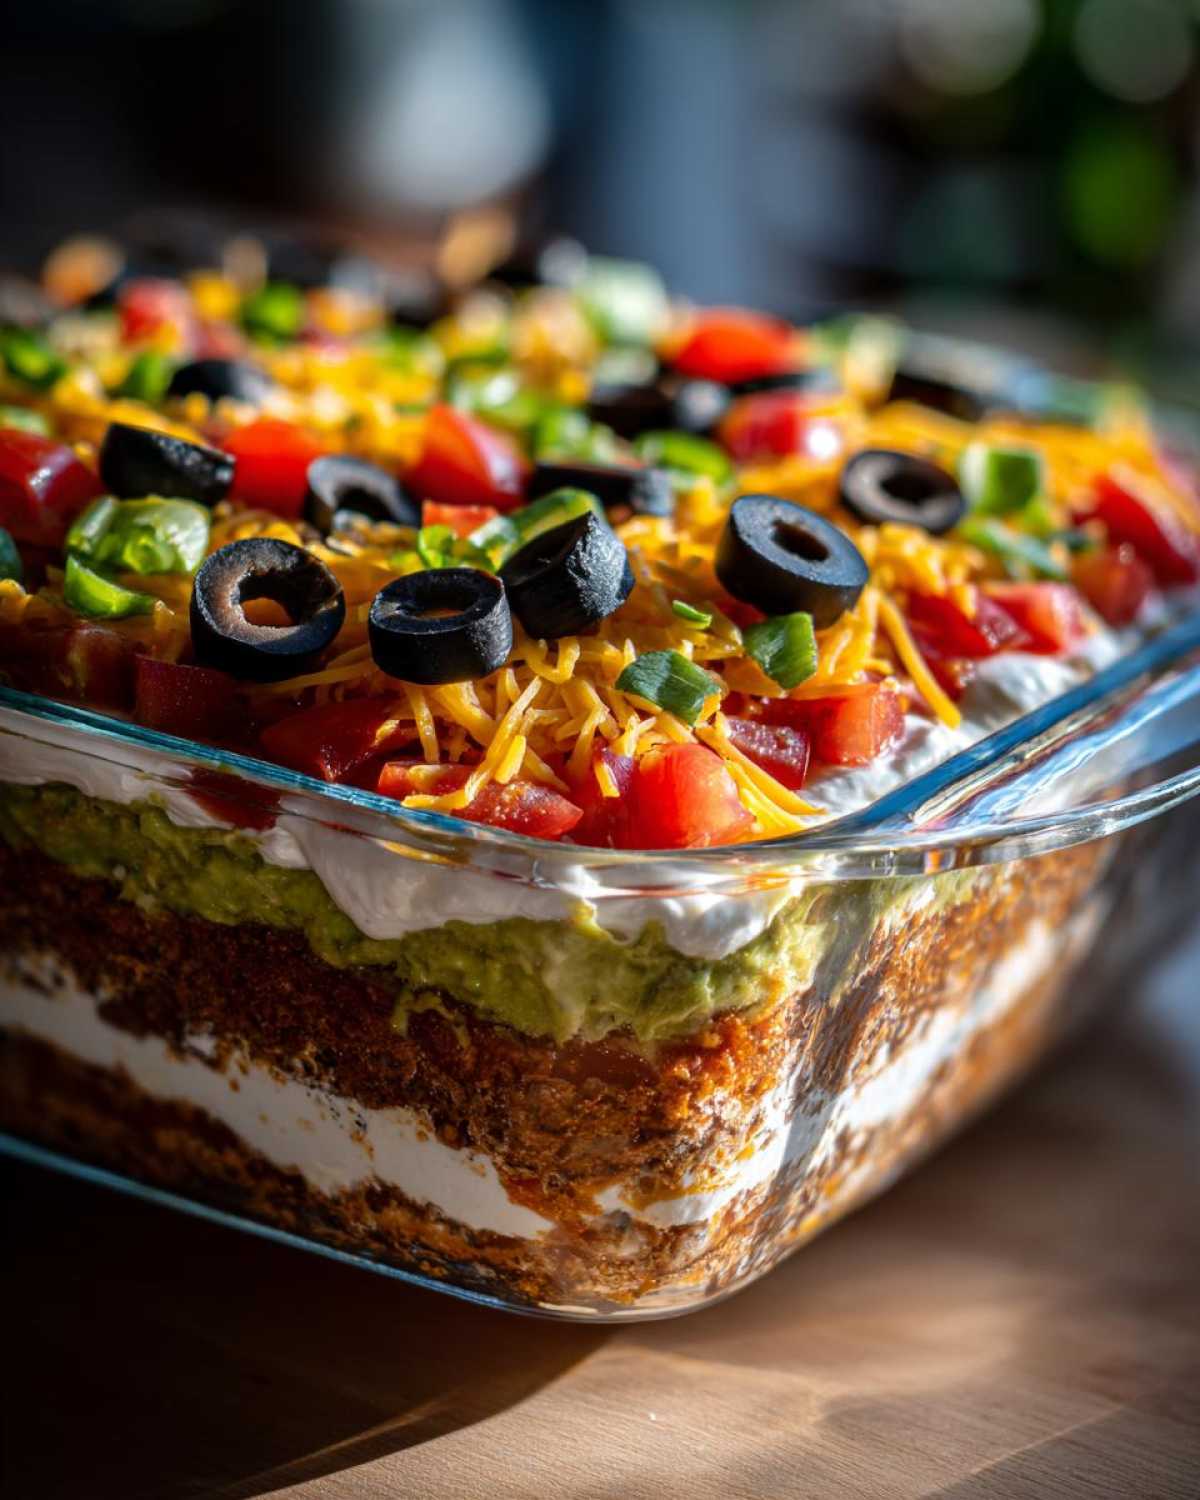
- Sharp, visible layers that look amazing in a clear dish.
- Perfect balance—not too heavy on the beans, just enough cheese.
- It tastes even better after sitting because the spices meld together.
Key Components of a Perfect Seven Layer Dip
Getting the order right is absolutely crucial for both flavor progression and structural integrity. You want that creamy, hearty base first, and you want those fresh, crunchy elements right on top so they greet your chip first. Here’s the line-up we always follow:
- Spiced Refried Beans (The Foundation)
- Prepared Guacamole
- Taco-Seasoned Sour Cream (Our little secret!)
- Drained Salsa
- Shredded Cheese
- Black Olives
- Fresh Chopped Tomatoes (The Crown)
Gathering Ingredients for Your Seven Layer Dip
Okay, let’s talk about what you need! For a truly stunning and sturdy **seven layer dip**, the details matter. Liam jokes that I treat the ingredients list like a mission briefing—no substitutions unless absolutely necessary! Getting everything ready beforehand is half the battle, especially making sure your refried beans aren’t rock hard straight from the can. You want everything to spread smoothly, so take the beans out about 30 minutes before you start assembling.
We are aiming for seven distinct, perfect layers here, so precision in preparation counts. Grab a clear serving dish—it’s non-negotiable for a party dip this pretty! Here is exactly what you need for the best Tex-Mex appetizer experience:
- 1 (16 ounce) can refried beans, room temperature
- 1 teaspoon ground cumin
- 1/2 teaspoon chili powder
- 1 cup prepared guacamole
- 1 cup sour cream
- 1 packet (1 ounce) taco seasoning mix
- 1 cup salsa, drained well
- 1 cup shredded cheddar or Mexican blend cheese
- 1/2 cup chopped black olives, drained
- 1/2 cup chopped fresh tomatoes
Ingredient Notes and Substitution Tips
The magic here is in how you prep these simple items. First, please, please drain your salsa! This is probably the number one reason dips turn soupy halfway through. Use a fine-mesh sieve and let it drip for a good five minutes. Nobody wants watery guac or beans separating on the plate.
Also, don’t skip mixing the cumin and chili powder right into the refried beans. It wakes them up! Plain beans are just sad beans, honestly. If you can’t find the taco seasoning mix for the sour cream, just use cumin, chili powder, a dash of garlic powder, and salt, but the packet is just so reliable when you’re rushing to get ready for company.
Step-by-Step Instructions: How to Make Seven Layer Dip
Alright, this is where the construction happens! Don’t worry about perfection here—it’s all about spreading gently so you don’t disturb the layer underneath. Since we want this **seven layer dip** to impress everyone visually, take your time with the spreading. Remember, we layered, not mixed! We want clean separation so everyone sees the effort. If you want another winner for your snack table, you should check out Liam’s recipe for Caramelized Onion Dip—no soup mix needed!
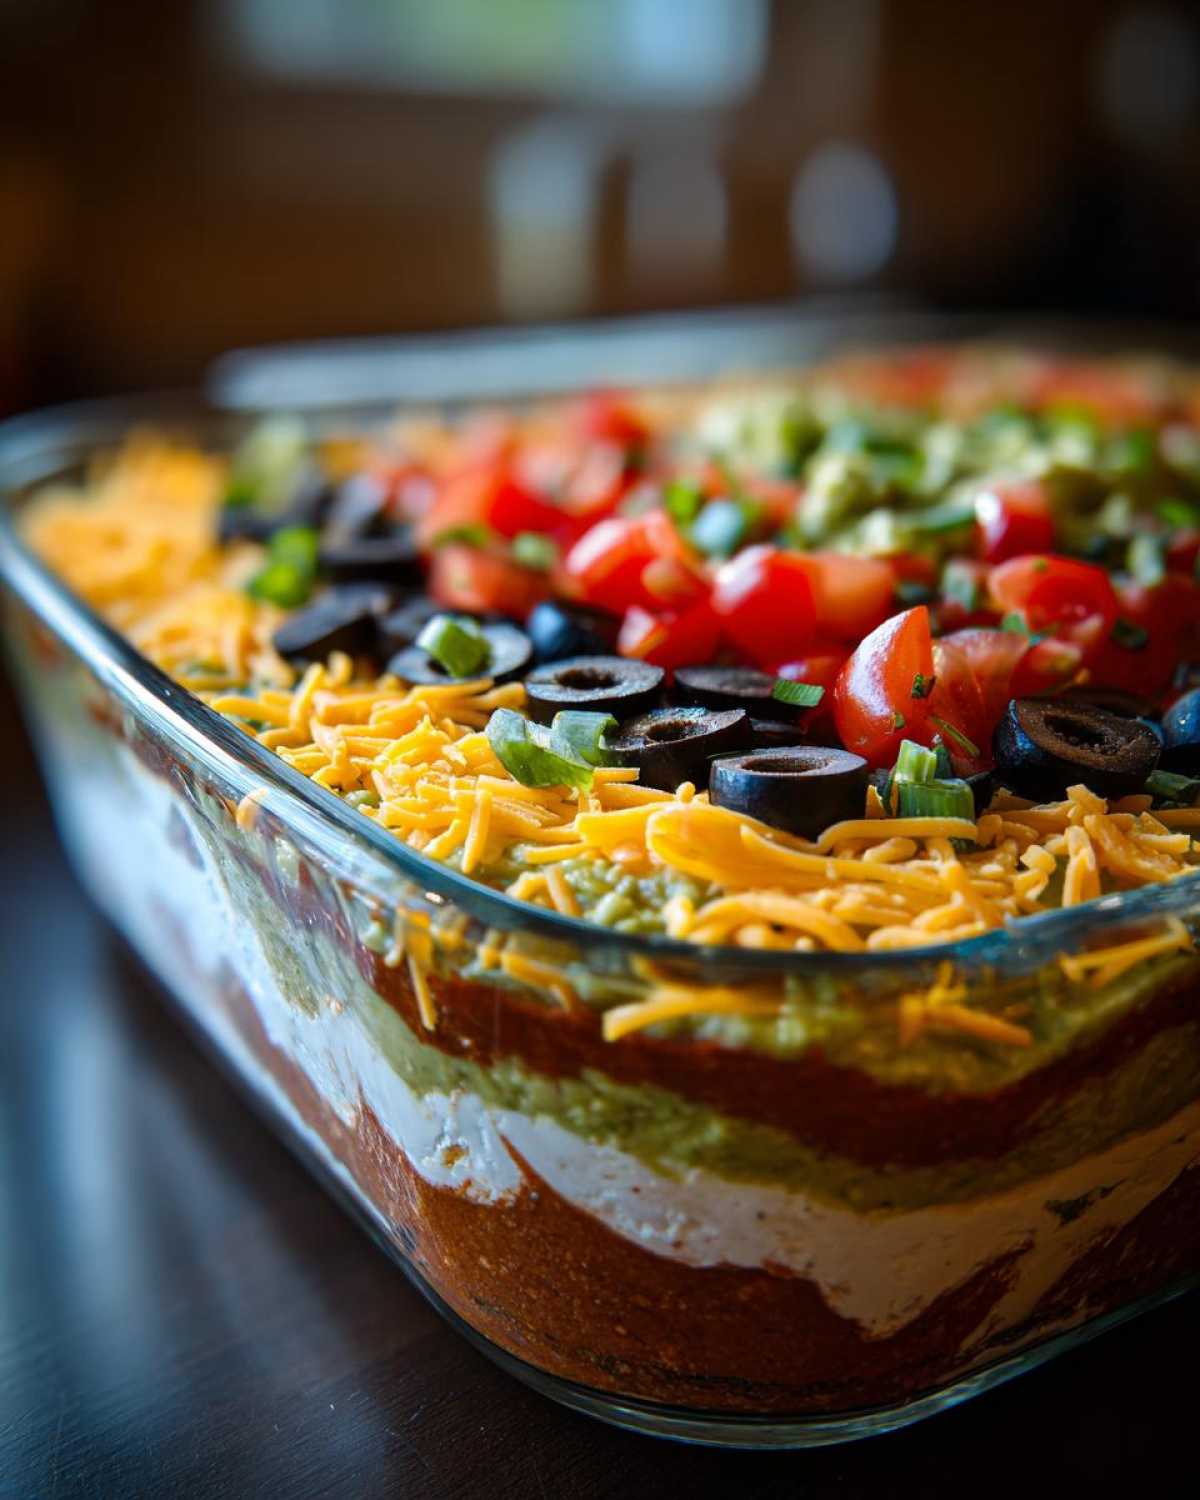
- First things first, we spice up those beans! In a little bowl, just gently stir your refried beans with the cumin and chili powder until you can see the spice blended in.
- Now, take that seasoned bean mix and spread it evenly across the bottom of your clear dish. Think of it like painting the first coat—you need to cover every inch of that glass base.
- Next is the guacamole. Just plop the cup of avocado goodness right on top of the beans and use the back of a spoon to spread it gently. Be slow; we don’t want bean streaks interrupting the green!
- Time for the flavor booster! Mix your sour cream and the taco seasoning packet in its own bowl until it’s fully incorporated and a lovely pale color. Spread that creamy goodness over the guacamole layer.
- This is the make-or-break moment for texture: take your well-drained salsa and spread it cautiously over the sour cream. If it’s too watery, your dip is going to bleed into everything else!
- Sprinkle that shredded cheese evenly—you want maximum coverage here for flavor balance.
- Toss those black olives over the cheese. Trust me, having them dotted around looks so much better than piling them in one spot when serving up a party layered dip.
- Finally, the fresh tomatoes go on top. This finishes the look so your Tex-Mex appetizer is photo-ready!
Layering Technique for the Seven Layer Dip
When you are spreading the beans, guacamole, and especially the sour cream, use a small offset spatula or the back of a spoon dipped in hot water (wiped dry!). That little trick helps the creamy layers glide without dragging the layer below. Since you chose that beautiful clear dish, you can look straight down the side to check your lines. Keep the edges clean during spreading—it makes the final product look so professional when it hits the table, ensuring those crisp layers remain.
Chilling and Setting Your Party Layered Dip
You absolutely must chill this dip. We follow the instructions here exactly: chill your **seven layer dip** for a minimum of one full hour. This isn’t just for safety; it’s for structure! Chilling allows the dairy layers to firm up just enough so that when Uncle George dives in with a chip, the beautiful structure doesn’t collapse instantly. A well-set dip holds its shape and offers the best texture when people are scooping down through all the layers.
Tips for the Most Attractive Seven Layer Dip Presentation
Let’s be honest, we eat with our eyes first, especially when serving up a beautiful **seven layer dip** at a gathering. The presentation is everything! If you can’t see those lovely layers, it just looks like something mixed up in a bowl, and we worked too hard for that!
First thing’s first: you must use a clear glass dish, like a pie plate or a shallow casserole. This lets everyone admire the rainbow of Tex-Mex goodness before the first chip even breaks the surface. My big “insider” tip comes from the final toppings.
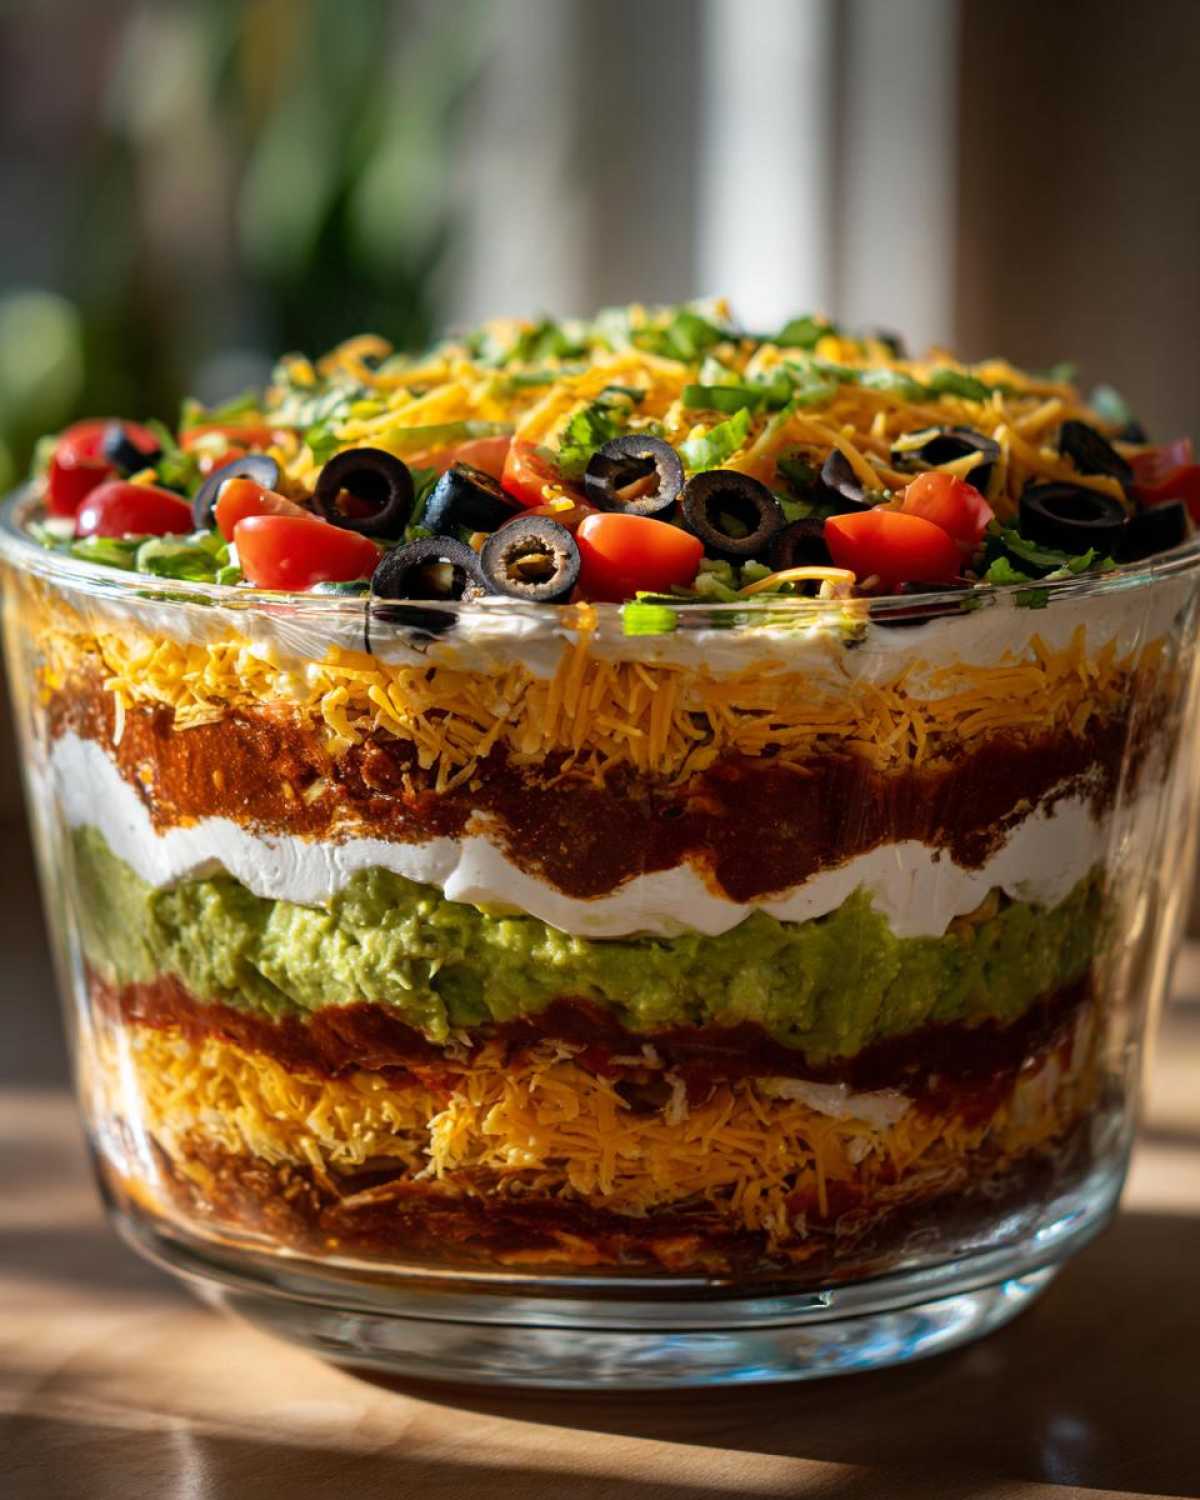
Liam always wants to cover the whole thing with tomatoes and olives right away, but *don’t*! Wait to spread the chopped tomatoes and olives until about 15 minutes before serving time. This keeps the tomatoes juicy and bright red, and the olives look gorgeous sitting right on top, rather than getting slightly soggy in the fridge overnight. It ensures your **seven layer dip** looks as fresh as possible!
Storage and Make-Ahead Advice for Your Easy Seven Layer Dip
One of the best things about this recipe being an **easy seven layer dip** is that you can truly get ahead of the party rush! Liam usually makes me promise I’ll prep as much as possible the day before, which is a lifesaver when the doorbell starts ringing.
The key to stress-free assembly is preparing the components that hold well on their own. Go ahead and mix that taco seasoning right into the sour cream the night before; it actually benefits from that extra time melding flavors. You can even chop your tomatoes and olives and keep them in separate little containers in the fridge.
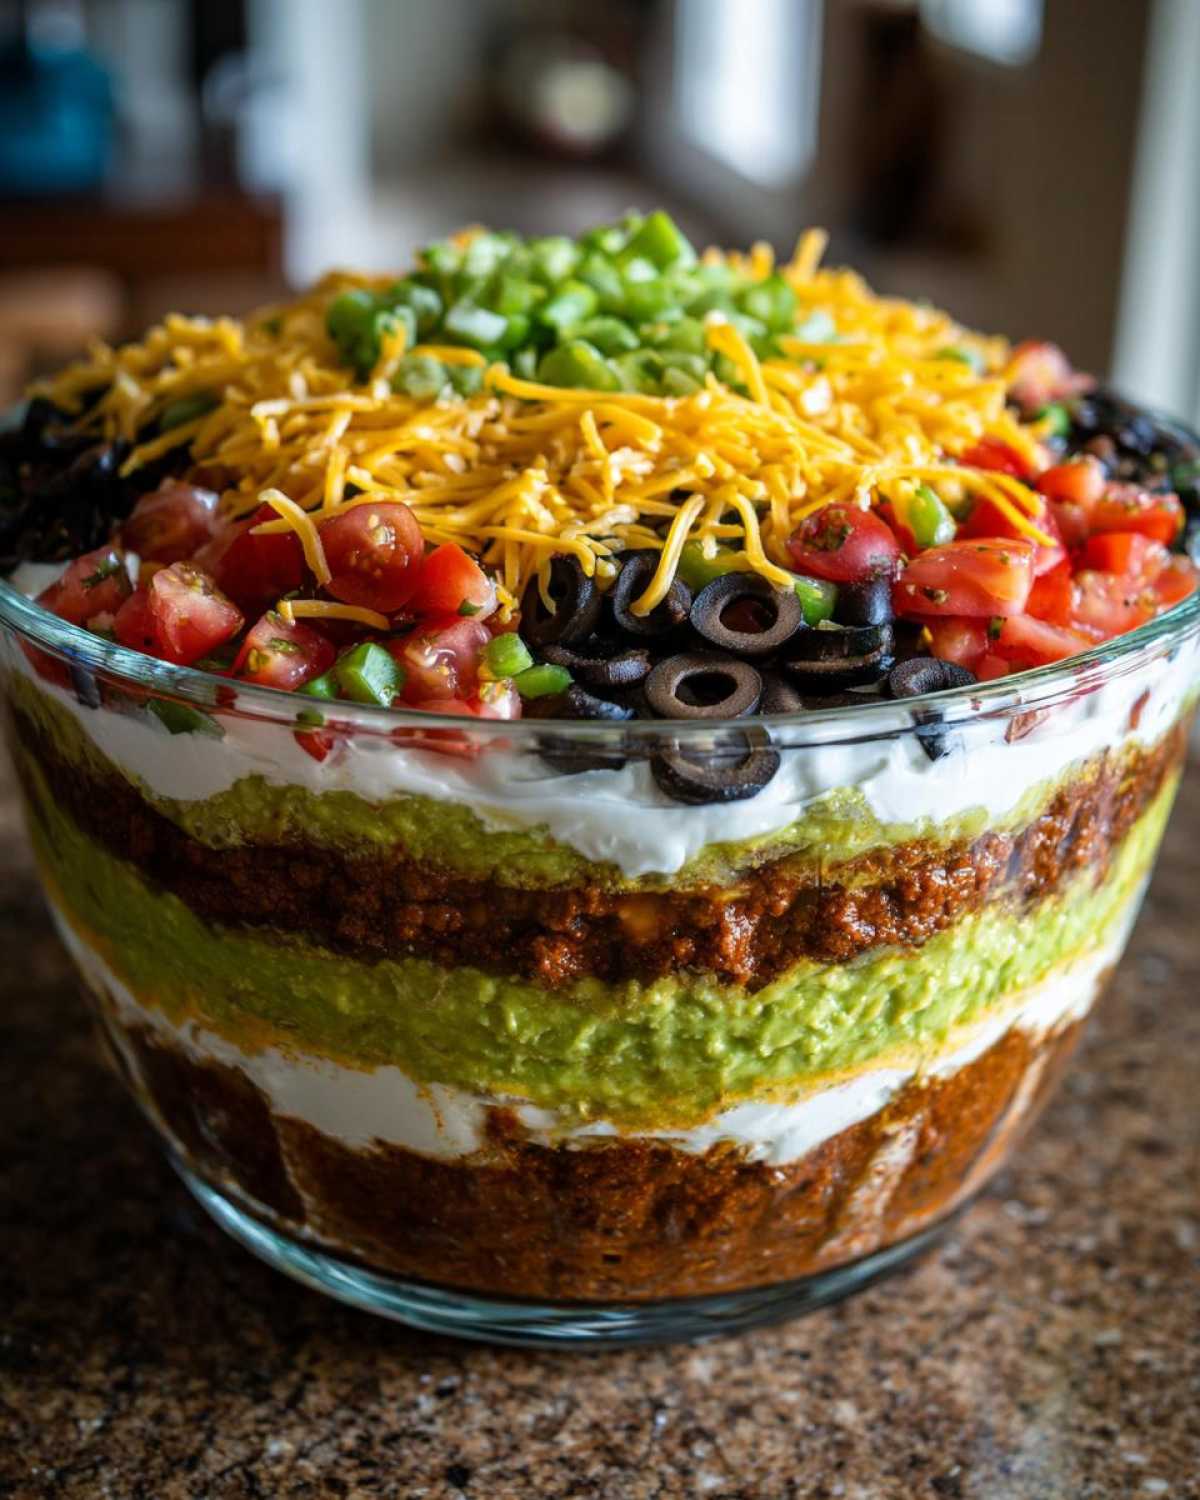
When it comes to storage, once the dip is assembled and chilled (remember, that chilling time is super important!), it stays perfectly fine in the fridge for about two to three days. Just make sure you cover that top layer tightly with plastic wrap. If you plan on storing it for more than 24 hours, I definitely recommend holding off on adding the fresh tomatoes until just before serving. Soggy layers are the enemy of a perfect **easy seven layer dip**!
If you love making dips ahead of time, you might want to look at our recipe for caramelized onion dip—that one is fantastic for prepping too! But honestly, sticking to the assembly steps above ensures this **easy seven layer dip** comes together smoothly every time.
Frequently Asked Questions About This Tex-Mex Appetizer
I get so many questions every time I post this recipe on social media because everyone wants their dip to be the absolute star of the potluck! Liam and I have made this so many times that we’ve figured out all the little hiccups people run into. Hopefully, this clears up the most common concerns about assembling your **party layered dip**!
Here are the things I hear most often when friends are trying to figure out their game plan:
- Can I make this **party layered dip** without refried beans?
- How long does the finished dip usually last in the fridge?
- What are the absolute best types of chips to serve with this?
What if my guacamole browns before serving?
Oh, the dreaded browning! This happens instantly if you aren’t careful, and it totally ruins that gorgeous green layer. We have two tricks in our arsenal for keeping the guacamole bright. First, when you spread the guacamole layer, use a little something acidic—a tiny, thin brush of lime juice or even just water on the surface can help protect it from the air.
But the real secret, especially if you are chilling it for a bit, is how you cover it. Don’t let the plastic wrap just float on top. You need to take a small piece of plastic wrap and gently press it directly onto the surface of the guacamole layer, making sure there are zero air bubbles trapped underneath. You’re essentially creating a protective seal! If you do this, your green layer should stay looking perfect until it’s serving time. This is so important if you want that stunning visual appeal of a **Tex-Mex appetizer**!
We always make sure to follow the chilling guidelines precisely. For more reading on our overall approach to kitchen certainty, you can always check out our liability guidelines before tackling any new recipe.
Serving Suggestions for the Ultimate Seven Layer Dip
Tortilla chips are the classic partner for our **seven layer dip**, and honestly, you can never go wrong there—grab the salty, sturdy kind that won’t snap when you hit the bean layer! But if you’re looking to mix things up or offer something lighter for your guests, I always love having a few extra vehicles ready for scooping.
My current favorites are pre-sliced bell peppers—red and yellow ones look so colorful against the dip—and some sturdy pita chips work surprisingly well against the texture. If you have friends who are watching carbs, even carrot sticks work if they are crisp!
The key is that whatever you serve, have plenty of it ready because once people notice this showstopper, the **seven layer dip** will fly off the table! If you are looking for another guaranteed party hit that disappears instantly, try serving this alongside our Spicy Mexican Street Corn!
Estimated Nutritional Data for Seven Layer Dip
I know some of you are detail-oriented like Liam, who always asks what exactly we’re consuming when we make something this indulgent! Since this **party layered dip** is made up of beans, cheese, and sour cream, it definitely packs flavor. But, as Chloe, I feel like I should remind everyone that these numbers are just estimates based on the standard ingredients listed in the recipe.
We aren’t nutritionists here at Cookery Courier, we just focus on delivering comfort, but I try to keep track when I can so you know what you’re getting into. Use this little chart as a guide for one serving (which is about 1/8th of the dip, if you can even stop at one serving!).
- Serving Size: 1/8 of dip
- Calories: 210
- Fat: 15g
- Saturated Fat: 7g
- Carbohydrates: 14g
- Protein: 8g
- Fiber: 3g
- Sodium: 450mg
Remember, those fat and sodium counts can really swing depending on what kind of refried beans or pre-shredded cheese you grab! Use full-fat dairy if you want the best, thickest layers, but take those numbers with a grain of salt—or maybe a dollop of sour cream!
Share Your Experience Making This Seven Layer Dip
And there you have it! You are officially equipped to deliver the ultimate comfort food for your next gathering. I really hope this recipe makes you feel confident serving up a towering, beautiful **seven layer dip**. Honestly, watching people’s faces when you bring out a clear dish showing off all those distinct, colorful layers? That look is exactly why we do this!
Liam and I live for hearing about your party triumphs. Did it disappear in under ten minutes? Did Aunt Carol finally admit that your dip is better than hers? Please let us know!
If you made this and loved it—or if you ran into a little hiccup we haven’t covered yet—please leave a rating below. We read every single comment, because those dispatches from your kitchen help us keep refining how we share our messages of comfort food. I love tagging Liam in the comments where people say how surprisingly **easy seven layer dip** this was to assemble!
If you have pictures of your stunning **seven layer dip** creation, share them on social media and tag us! We love seeing your perfect stacks. For any other questions or just to say hello, you can always reach out directly via our contact page. Happy dipping, and thank you for letting us bring a little comfort from our kitchen to yours!
PrintThe Best Seven Layer Dip for Your Next Gathering
Make this classic Tex-Mex layered dip for your party. It is easy to assemble and always disappears first.
- Prep Time: 20 min
- Cook Time: 0 min
- Total Time: 20 min
- Yield: 8 servings
- Category: Appetizer
- Method: Layering
- Cuisine: Tex-Mex
- Diet: Vegetarian
Ingredients
- 1 (16 ounce) can refried beans, room temperature
- 1 teaspoon ground cumin
- 1/2 teaspoon chili powder
- 1 cup prepared guacamole
- 1 cup sour cream
- 1 packet (1 ounce) taco seasoning mix
- 1 cup salsa, drained well
- 1 cup shredded cheddar or Mexican blend cheese
- 1/2 cup chopped black olives, drained
- 1/2 cup chopped fresh tomatoes
Instructions
- In a small bowl, mix the refried beans with cumin and chili powder until combined. Spread this bean mixture evenly over the bottom of a clear 9-inch pie dish or shallow serving platter. This is your first layer.
- Spread the prepared guacamole evenly over the bean layer. To keep it looking fresh, you can brush a very thin layer of water or lime juice over the top, though this is optional.
- In a separate bowl, mix the sour cream with the entire packet of taco seasoning until smooth. Spread this seasoned sour cream mixture over the guacamole layer.
- Spoon the well-drained salsa evenly over the sour cream layer. Make sure the salsa is not too watery, or your dip will become runny.
- Sprinkle the shredded cheese evenly over the salsa layer.
- Distribute the chopped black olives over the cheese layer.
- Top the dip with the chopped fresh tomatoes.
- Chill the seven layer dip for at least 1 hour before serving to allow the layers to set. Serve cold with tortilla chips.
Notes
- Use a clear glass dish so your guests can see all seven distinct layers.
- Drain your salsa thoroughly; excess liquid will ruin the texture of the layers above it.
- If making ahead, wait to add the tomatoes and olives until just before serving for the freshest look.
Nutrition
- Serving Size: 1/8 of dip
- Calories: 210
- Sugar: 4
- Sodium: 450
- Fat: 15
- Saturated Fat: 7
- Unsaturated Fat: 8
- Trans Fat: 0
- Carbohydrates: 14
- Fiber: 3
- Protein: 8
- Cholesterol: 25