

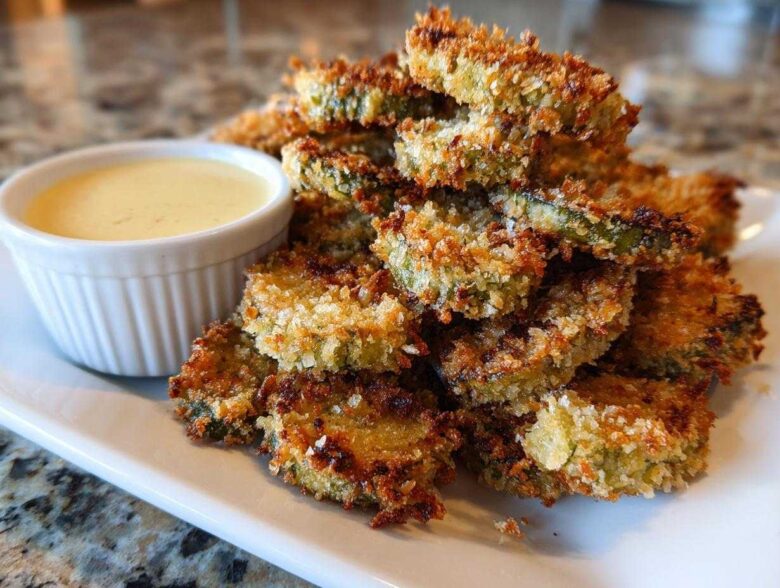
You know that feeling when you’re staring down your couch, the TV is calling, and you just *know* that only something salty, crunchy, and perfectly tangy will do? That’s when I instantly crave those amazing, pub-style appetizers we always ended up ordering out. But now? Now we make the best **Fried Pickles** right here at home! When Liam first started wooing me, he’d deliver these perfect, warm snacks straight to my desk—it was his love language before I even knew I needed one. That’s why this recipe, refined in our little messy kitchen laboratory until it was perfect, means so much to us here at Cookery Courier. You can read a bit more about how we got our start right here on our About page. We’ve cracked the code to getting that unbelievable crispy texture, whether you’re old school and want the full deep-fried experience or you’re looking for a surprisingly light and quick **Air Fryer Fried Pickles** version. Trust me, this is the ultimate guide you need!
Why This Homemade Fried Pickles Recipe Delivers Maximum Crunch
When you are searching for **Crispy Fried Pickles**, you are really searching for that perfect snap when you bite in, right? That beautiful crackle that means the oil or the air fryer did its job. We spent weeks nailing down exactly how to make fried pickles crispy enough to satisfy Liam, and I finally understood his process. It all comes down to two things he hammered into me: absolute dryness and the right breading.
Liam always insists that if you skimp on drying them, you are basically admitting defeat before you even start frying! If you want the best **Homemade Fried Pickles Recipe**, you have to treat those pickle chips like they are the most delicate ingredient you’ve ever handled. It’s worth the extra paper towel work, I promise!
The Secret to Perfectly Crunchy Fried Pickles
First up is the drying. You have to lay those dill chips out and seriously pat them dry. We use at least three layers of paper towels. If they aren’t bone dry, the coating just steams itself into mush when it hits the heat. Yuck!
Second, forget those fine, regular breadcrumbs. We are using Panko here, every single time. Panko breadcrumbs are bigger flakes, which means less surface area touches the oil, and that creates those lovely, airy pockets of crunch. This is the technique that makes these **Southern Fried Pickles** taste exactly like the best ones on the menu.
Essential Ingredients for the Best Fried Pickles Appetizer
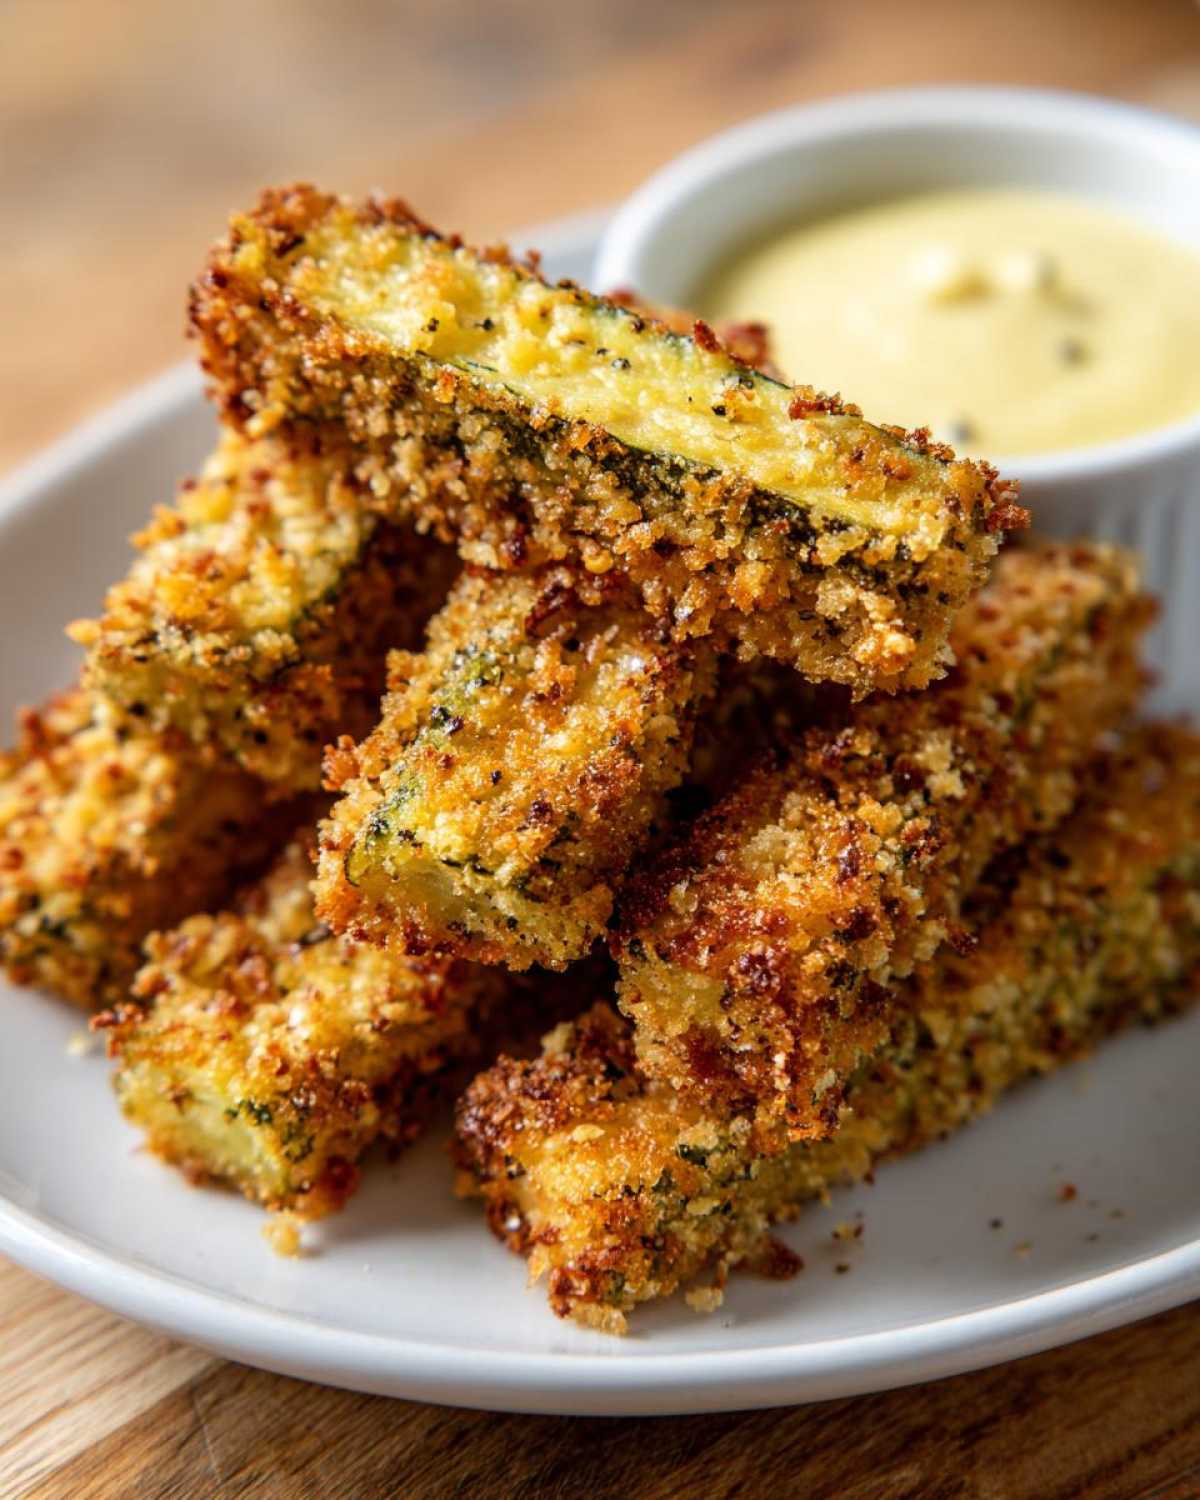
You can’t win a marathon without good running shoes, right? And you definitely can’t make the **Best Fried Pickles Appetizer** without the right ingredients! For me, the pickling brine is everything. You absolutely need high-quality dill pickle chips, and they must come out of the jar completely drained. If you want that signature tartness that makes these so addictive, you can’t skimp here. We’ve found that using thick-cut chips works best for our dipping game.
If you want to peek at another way we use those tangy beauties, check out my favorite creamy pickle pasta salad recipe! But for this crunch factor, let’s look at what goes into the coating and the creamy dip we serve alongside them.
Ingredients for the Tangy Pickle Snacks
Here’s what you need coating those delicious chips:
- 1 (16 ounce) jar dill pickle chips, drained well
- 1 cup all-purpose flour
- 1 teaspoon salt
- 1 teaspoon black pepper
- 1 teaspoon garlic powder
- 1 teaspoon paprika
- 1/2 teaspoon cayenne pepper (if you like a little kick!)
- 2 large eggs
- 1/2 cup milk
- 1 cup panko breadcrumbs (Seriously, don’t skip the Panko!)
Quick Homemade Fried Pickle Dipping Sauce
We skip the usual ranch sometimes and go for our own zingy version. This simple **Fried Pickle Dipping Sauce** is what truly sets our version apart when serving these **Tangy Pickle Snacks** at a party.
- 1/2 cup mayonnaise
- 1/4 cup sour cream
- 1 tablespoon hot sauce
- 1 teaspoon Worcestershire sauce
- 1/2 teaspoon garlic powder
Step-by-Step Guide to Making Crispy Fried Pickles
Okay, now for the fun part! Once you have all your ingredients ready, the assembly process moves super fast. Liam laughs because I get so focused during the dredging stage—it’s like an assembly line, and you can’t break the chain! I like to get the sauce mixed up first, because it needs time to chill and let those flavors mingle. While that’s happening, we move straight into preparing the pickles so we can get frying ASAP. Don’t worry if this seems like a lot of bowls; it makes the difference between crispy and soggy!
If you’re looking for a great dip partner while you wait, try our Caramelized Onion Dip—it’s fantastic alongside these snacks!
Preparing the Pickles and Dredging Stations for Fried Pickles
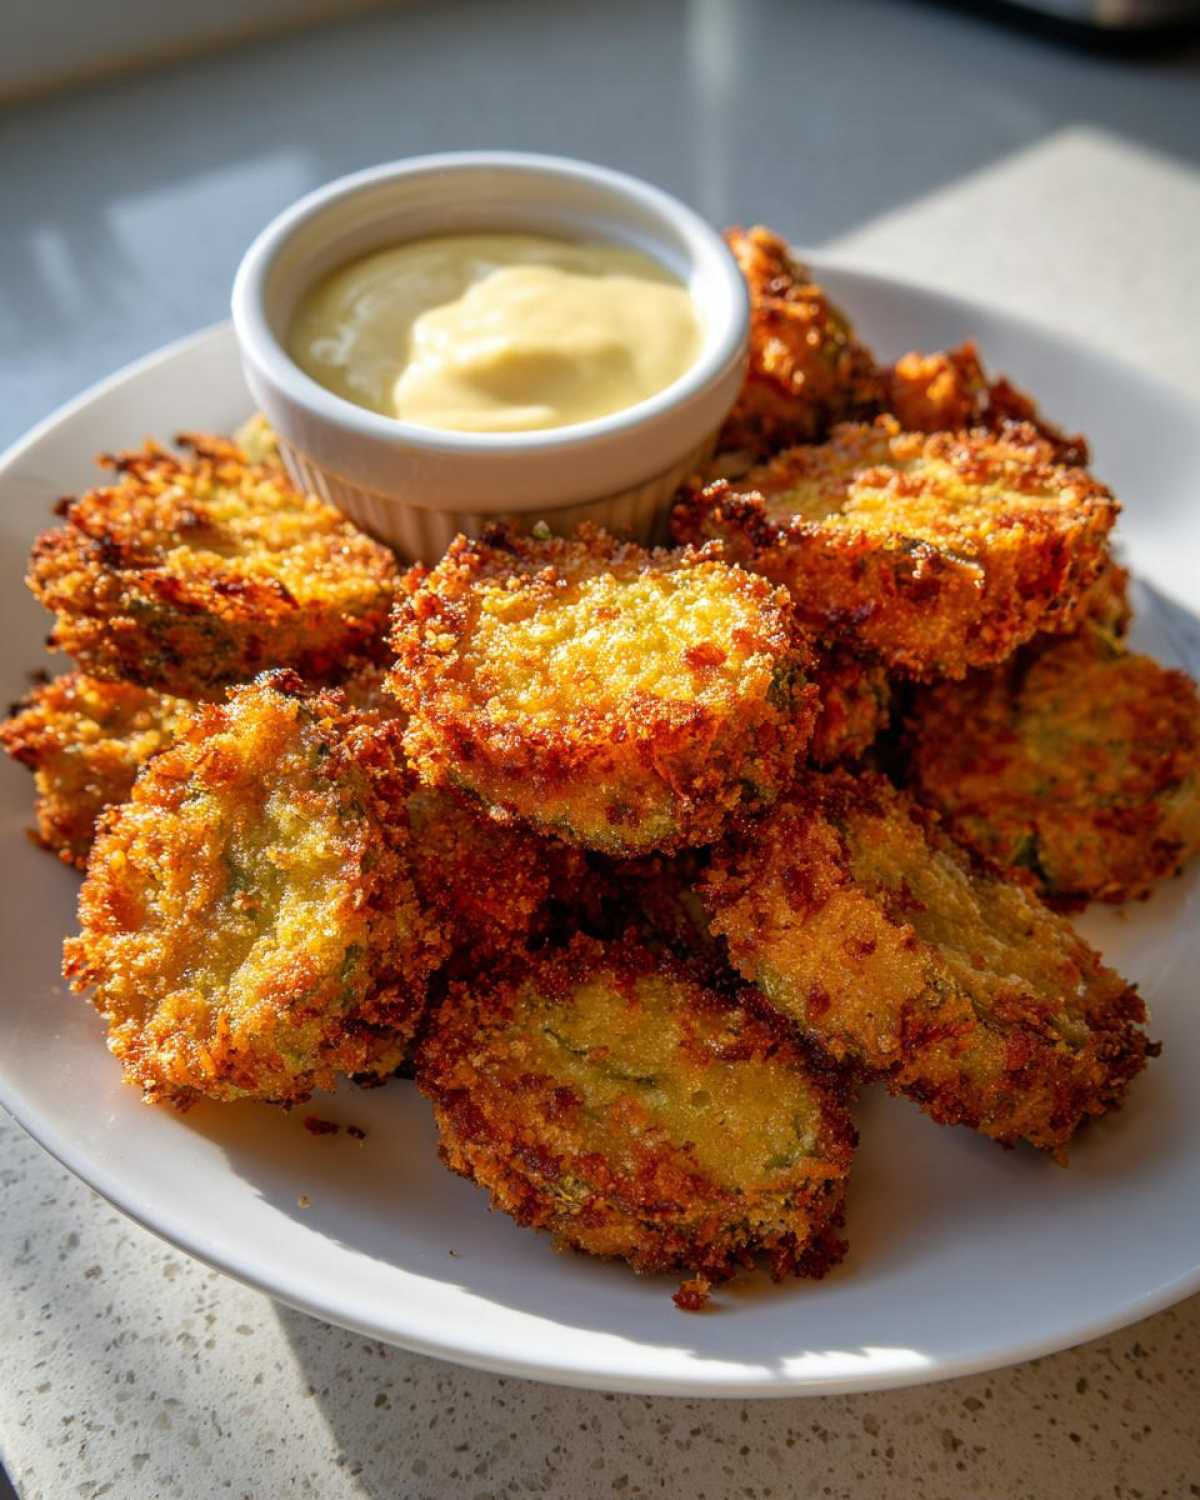
Seriously, pat those pickles dry until your arm gets tired. We lay them on paper towels and blot repeatedly. Then, set up your three stations: Dish one has your seasoned flour mix. Dish two is the egg and milk bath. Dish three is your fluffy Panko breadcrumbs. Take a small batch of pickles and dredge them heavily in the flour—shake off the excess! Dip them quickly into the egg wash, letting the extra drip back in. The final step is pressing them firmly into the Panko so they’re totally coated.
Technique for Deep Fried Pickles
If you’re going deep fry style, you need your oil at exactly 375°F (190°C). If it’s too cool, they get greasy; too hot, and the coating burns before the pickle heats up. We drop them in small batches—never crowd the pot! Fry those beautiful **Deep Fried Pickles** for only about 1 to 2 minutes, just until they turn that perfect golden brown. As soon as they come out, pop them onto a wire rack set over a baking sheet so that air can circulate underneath them. This keeps the bottoms from getting soggy, making them the crunchiest you’ve ever had!
Air Fryer Fried Pickles: A Healthier Take on This Game Day Fried Pickles
I know, I know. Sometimes you want that incredible crunch for your **Game Day Fried Pickles**, but you don’t want to spend half an hour cleaning up oil splatters afterward. Liam and I totally get it! That’s why this recipe gives you the flexibility to choose the deep-fry route or go for a much lighter option. If you’re looking for **Healthy Fried Pickles** that still deliver the payoff—they exist!
The magic happens when you switch to the air fryer. We found that the crispiness is almost identical if you follow one simple rule: spray them liberally with cooking spray. It’s like giving them a little misting bath before they head in for their quick, hot ride. I even have a great resource on air frying without thawing if you want to experiment more!
For these **Air Fryer Fried Pickles**, get your machine preheated to 400°F (200°C). You need to cook them in a single layer—no stacking allowed unless you enjoy soggy bottoms! Toss them in for about 8 to 10 minutes total, making sure you flip them halfway through so both sides get that gorgeous golden color. You can see more great tips on air frying these beauties over at Dinner Flare, too!
Making Texas Roadhouse Fried Pickles Copycat Style
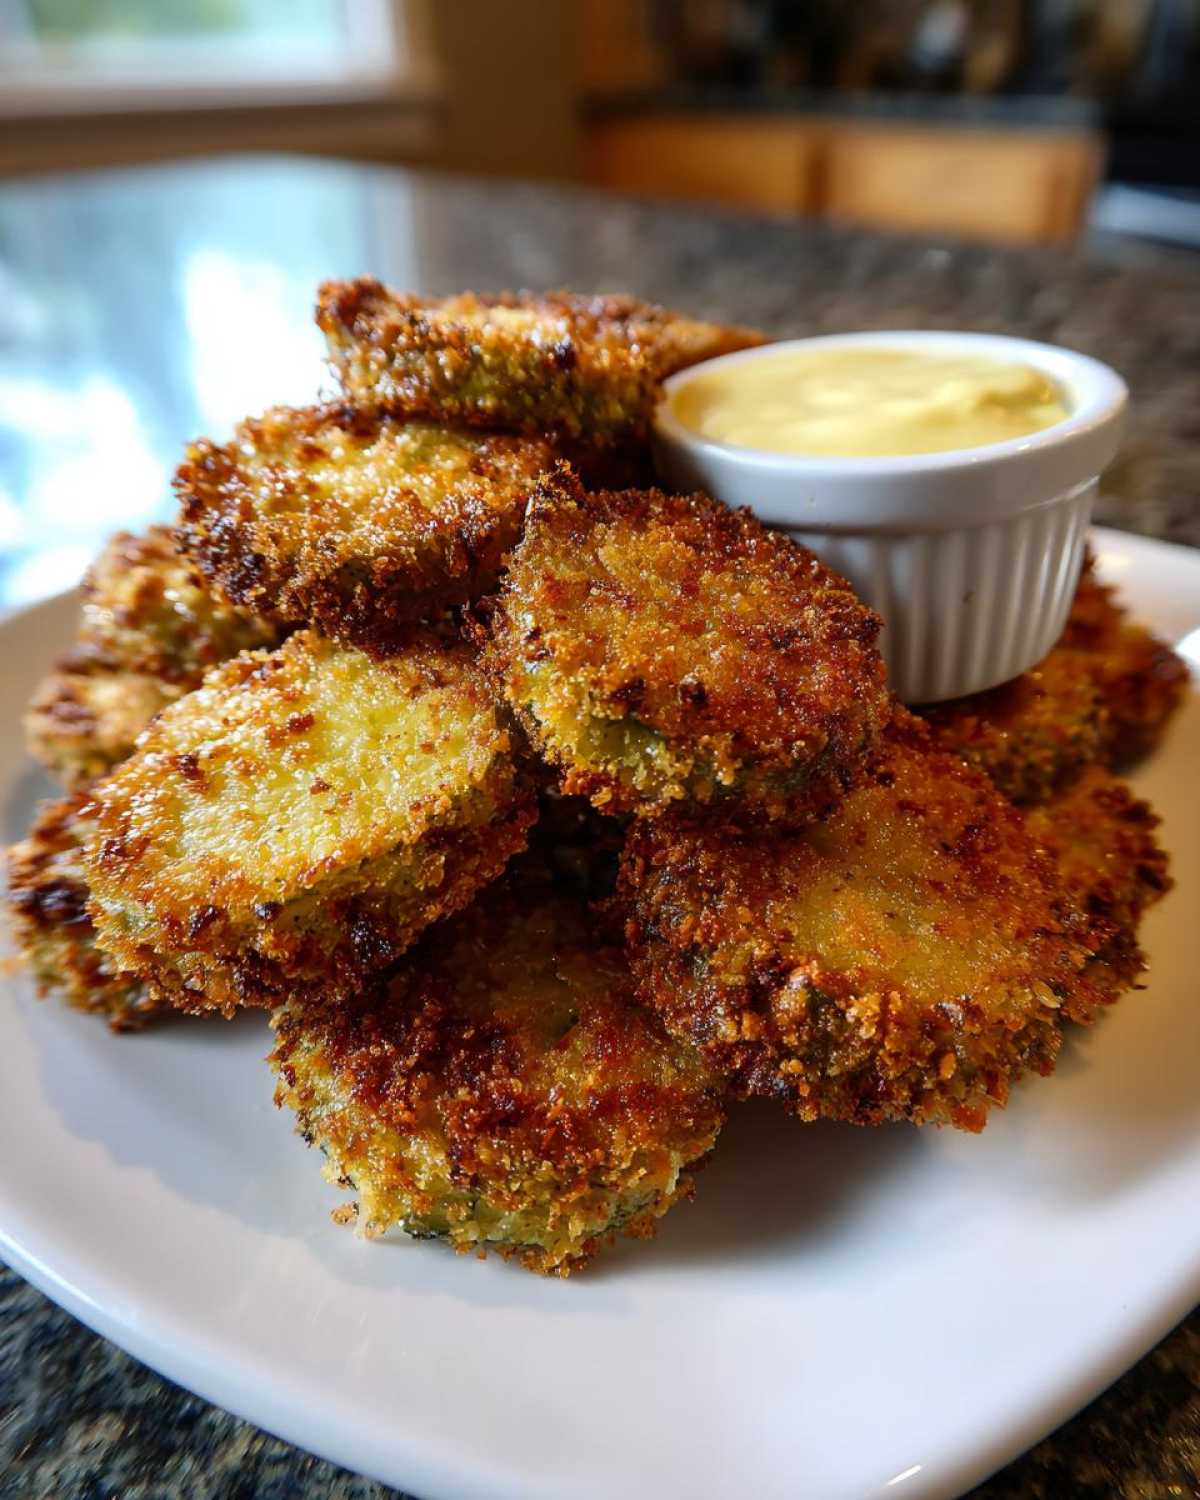
Now, I have to confess something: before Liam started showing me how to cook, my highest culinary achievement was finishing a takeout container where the dipping sauce was still full. We used to drive clear across town just for their pile of crispy, seasoned **Fried Pickles**! Recreating that signature taste was one of the first challenges Liam set for me.
The secret to achieving that amazing **Texas Roadhouse Fried Pickles Copycat** vibe really boils down to the pickle itself and the seasoning blend in the flour. If you look back at our notes, I mention that for this specific style, you *must* use thick-cut dill chips. They handle the heat better and give you that satisfying, substantial bite we all know and love.
We think we nailed the seasoning blend so you don’t have to rely on takeout anymore! If you want to see what other recipes we’ve perfected since I traded my delivery app for a spatula, check out the main Cookery Courier blog page. You can even see the original recipe that inspired this version over at Recipe Stang. Seriously, you won’t believe how close these are!
Tips for Success with Your Crunchy Pickle Chips
Making these **Crunchy Pickle Chips** means chasing that fleeting moment of perfection—that perfect window between piping hot and slightly cool. Liam is adamant that these **Southern Fried Pickles** must be eaten immediately after draining. If you let them sit too long, even on a wire rack, they start steaming themselves! My advice? As soon as the batch is done sizzling, get them on the serving platter right away and put the next batch in. Don’t wait!
Another little trick I learned is about the saltiness. Since we are using high-quality, briny dill pickles, you need to be careful not to over-salt your flour mixture. Taste that flour before you start dipping! My initial attempts were way too salty because I forgot that the pickles bring their own powerful flavor to the party. If you’re making these for a big crowd, consider making a few test chips first. And if you’re looking for another awesome snack recipe you can whip up fast for a party, try our easy homemade garlic breadsticks!
Serving Suggestions for Your Fried Pickles
The best part about making a huge basket of golden, crispy **Fried Pickles** is figuring out what to serve them with! Honestly, the zesty dipping sauce we made is my favorite pairing, but you know what everyone always asks for? That classic creamy Ranch dip.
If you are setting these out for your next big event, make sure you have plenty of dipping options ready, because these disappear fast when they are hot! They are the perfect star for any big gathering. If you need another crowd-pleaser to put out next to the pickle platter, you have to try Liam’s famous sausage cheese dip recipe. These make the ultimate spread for any **Game Day Fried Pickles** party!
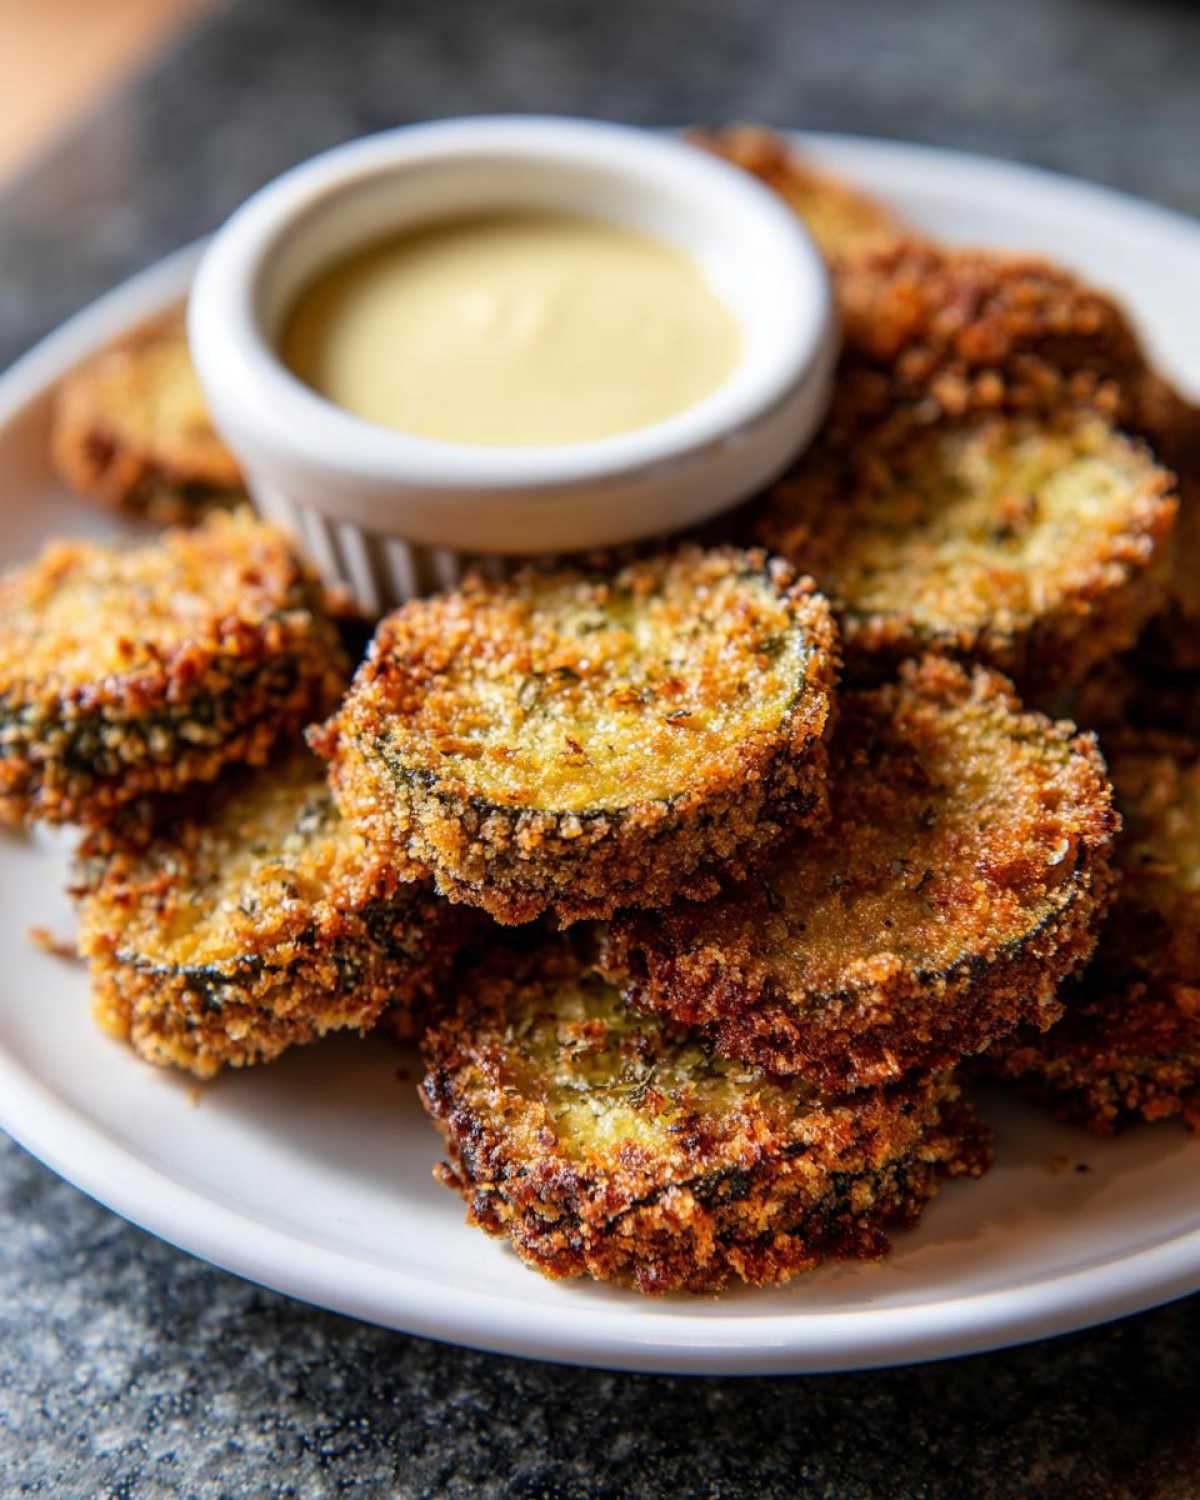
Storing and Reheating Leftover Fried Pickles
Okay, confession time: these are not leftovers friendly. I mean, they *can* be, but these are truly best devoured the second they come out of the oil or the air fryer basket screaming hot. Liam hates it when I save any, but sometimes you just can’t finish a whole batch!
If you must store them, just let them cool completely on that wire rack—air circulation is your friend. Then zap them in a container in the fridge for up to two days. If you want to bring back the crunch? You *must* use the air fryer again. A few minutes at 375°F should revivify them nicely. Please, never use the microwave; it makes them taste like soggy regret, and we don’t send messages of regret here! If you’re looking for another snack that’s better fresh but still okay the next day, try our dill pickle popcorn is addictive.
Frequently Asked Questions About Making Fried Pickles
I get so many questions when people try this recipe for the first time, usually coming from people who are trying to avoid ordering these out! I totally get it; we used to be those people, constantly craving these salty bites. Liam always says that the more questions you have, the more invested you are in getting that perfect crunch. We’ve compiled the most common ones here to make sure your snack is a total success and lives up to the hype of a great **Dill Pickle Appetizer**!
If you’re looking for a way to make pickles that aren’t fried but are just as tasty, you should check out our recipe for easy refrigerator pickles—they are so simple!
Can I substitute the Panko for regular breadcrumbs in this Fried Pickles Recipe?
You absolutely *can*, but I’m going to tell you, your results won’t be quite as epic! Regular fine breadcrumbs will still work and give you a decent coating, but Panko breadcrumbs are what give you that airy, shatteringly crisp texture. That’s because the Panko flakes are larger and absorb less oil, which is key to avoiding that heavy, greasy feeling. For the superior crunch you want in your **Crispy Fried Pickles**, stick with Panko if you can!
What is the best way to keep these Fried Pickles warm before serving?
Honestly, folks, the best way to keep them perfect is to serve them immediately! These are meant to be eaten piping hot. Once they cool down even a little, the steam gets trapped, and it starts to soften that beautiful crust we worked so hard on. If you absolutely must keep a batch warm while you finish the next round—say, if you’re making a huge tray for a crowd—set your oven to its lowest setting, around 200°F (95°C). Place a wire rack inside the oven, arrange the finished **Fried Pickles** in a single layer on that rack, and they will hold their heat without steaming underneath.
PrintThe Ultimate Crispy Fried Pickles Recipe (Restaurant-Style & Air Fryer Options)
Learn how to make perfectly crispy, golden fried pickles at home. This recipe includes instructions for classic deep-frying and a lighter air fryer version, plus a simple, zesty dipping sauce.
- Prep Time: 15 min
- Cook Time: 10 min
- Total Time: 25 min
- Yield: 4 servings
- Category: Appetizer
- Method: Deep Frying or Air Frying
- Cuisine: American
- Diet: Vegetarian
Ingredients
- 1 (16 ounce) jar dill pickle chips, drained well
- 1 cup all-purpose flour
- 1 teaspoon salt
- 1 teaspoon black pepper
- 1 teaspoon garlic powder
- 1 teaspoon paprika
- 1/2 teaspoon cayenne pepper (optional, for heat)
- 2 large eggs
- 1/2 cup milk
- 1 cup panko breadcrumbs (for extra crunch)
- Vegetable oil, for frying (or cooking spray for air fryer)
- For Dipping Sauce: 1/2 cup mayonnaise, 1/4 cup sour cream, 1 tablespoon hot sauce, 1 teaspoon Worcestershire sauce, 1/2 teaspoon garlic powder
Instructions
- Prepare the pickles: Lay the drained pickle chips on several layers of paper towels and pat them completely dry. Moisture prevents crispiness.
- Set up the dredging stations: In one shallow dish, whisk together the flour, salt, pepper, garlic powder, paprika, and cayenne pepper. In a second dish, whisk the eggs and milk together. In a third dish, place the panko breadcrumbs.
- Coat the pickles: Take a handful of dry pickle chips and dredge them thoroughly in the flour mixture, shaking off any excess. Dip them into the egg mixture, allowing excess to drip off. Finally, press them firmly into the panko breadcrumbs until fully coated. Place the coated pickles on a clean, dry baking sheet.
- Prepare the dipping sauce: In a small bowl, combine the mayonnaise, sour cream, hot sauce, Worcestershire sauce, and garlic powder. Mix well until smooth. Cover and refrigerate while you fry the pickles.
- For Deep Frying: Heat about 2 inches of vegetable oil in a heavy-bottomed pot or deep fryer to 375°F (190°C). Working in small batches, carefully lower the coated pickles into the hot oil. Fry for 1 to 2 minutes, turning once, until they are golden brown and crispy. Remove with a slotted spoon and place them on a wire rack set over a baking sheet to drain excess oil.
- For Air Frying: Preheat your air fryer to 400°F (200°C). Lightly spray the air fryer basket with cooking spray. Arrange the coated pickles in a single layer in the basket (work in batches). Lightly spray the tops of the pickles with cooking spray. Air fry for 8 to 10 minutes, flipping halfway through, until golden and crunchy.
- Serve immediately with the zesty dipping sauce.
Notes
- Drying the pickles thoroughly is the key to making these truly crispy fried pickles. Do not skip this step.
- If you are making the Texas Roadhouse copycat style, use thick-cut dill chips for a substantial bite.
- For an even lighter coating, you can skip the flour dredge and just use the egg wash followed by the panko.
- These are best eaten right away for maximum crunch.
Nutrition
- Serving Size: 1/4 of recipe (approx. 10 pickles)
- Calories: 350
- Sugar: 3
- Sodium: 850
- Fat: 22
- Saturated Fat: 4
- Unsaturated Fat: 18
- Trans Fat: 0
- Carbohydrates: 30
- Fiber: 2
- Protein: 8
- Cholesterol: 85