

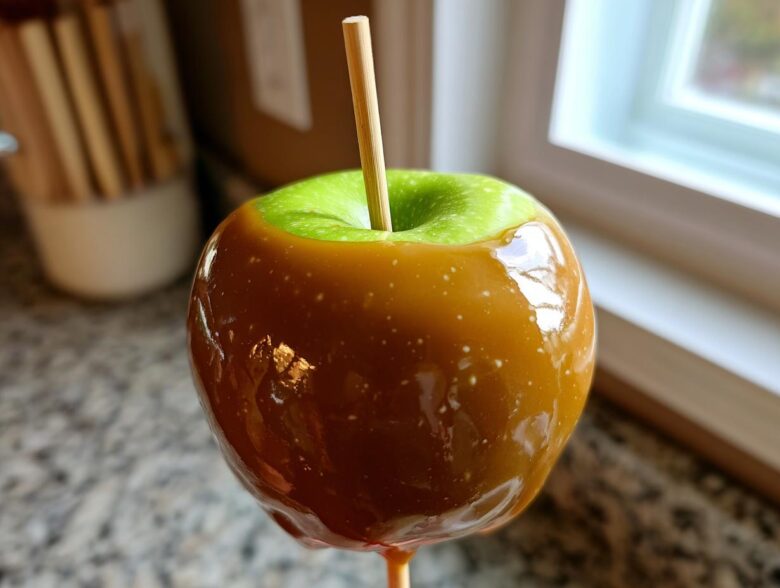
Oh, nothing screams autumn in our house like the smell of buttery, simmering sugar! Remember those amazing, sticky **caramel apples** you used to get at the county fair? They always looked perfect, but then you’d get home and half the coating would slide right off in the fridge—what a disaster! Well, I have cracked the code, friends. This is the BEST Foolproof Homemade Caramel Apples recipe, and I absolutely promise you a gooey, perfectly sticking coating every single time. Getting that temperature just right took me a few tries, but now that I know the trick, it’s so simple. You are going to love how stable this caramel is!
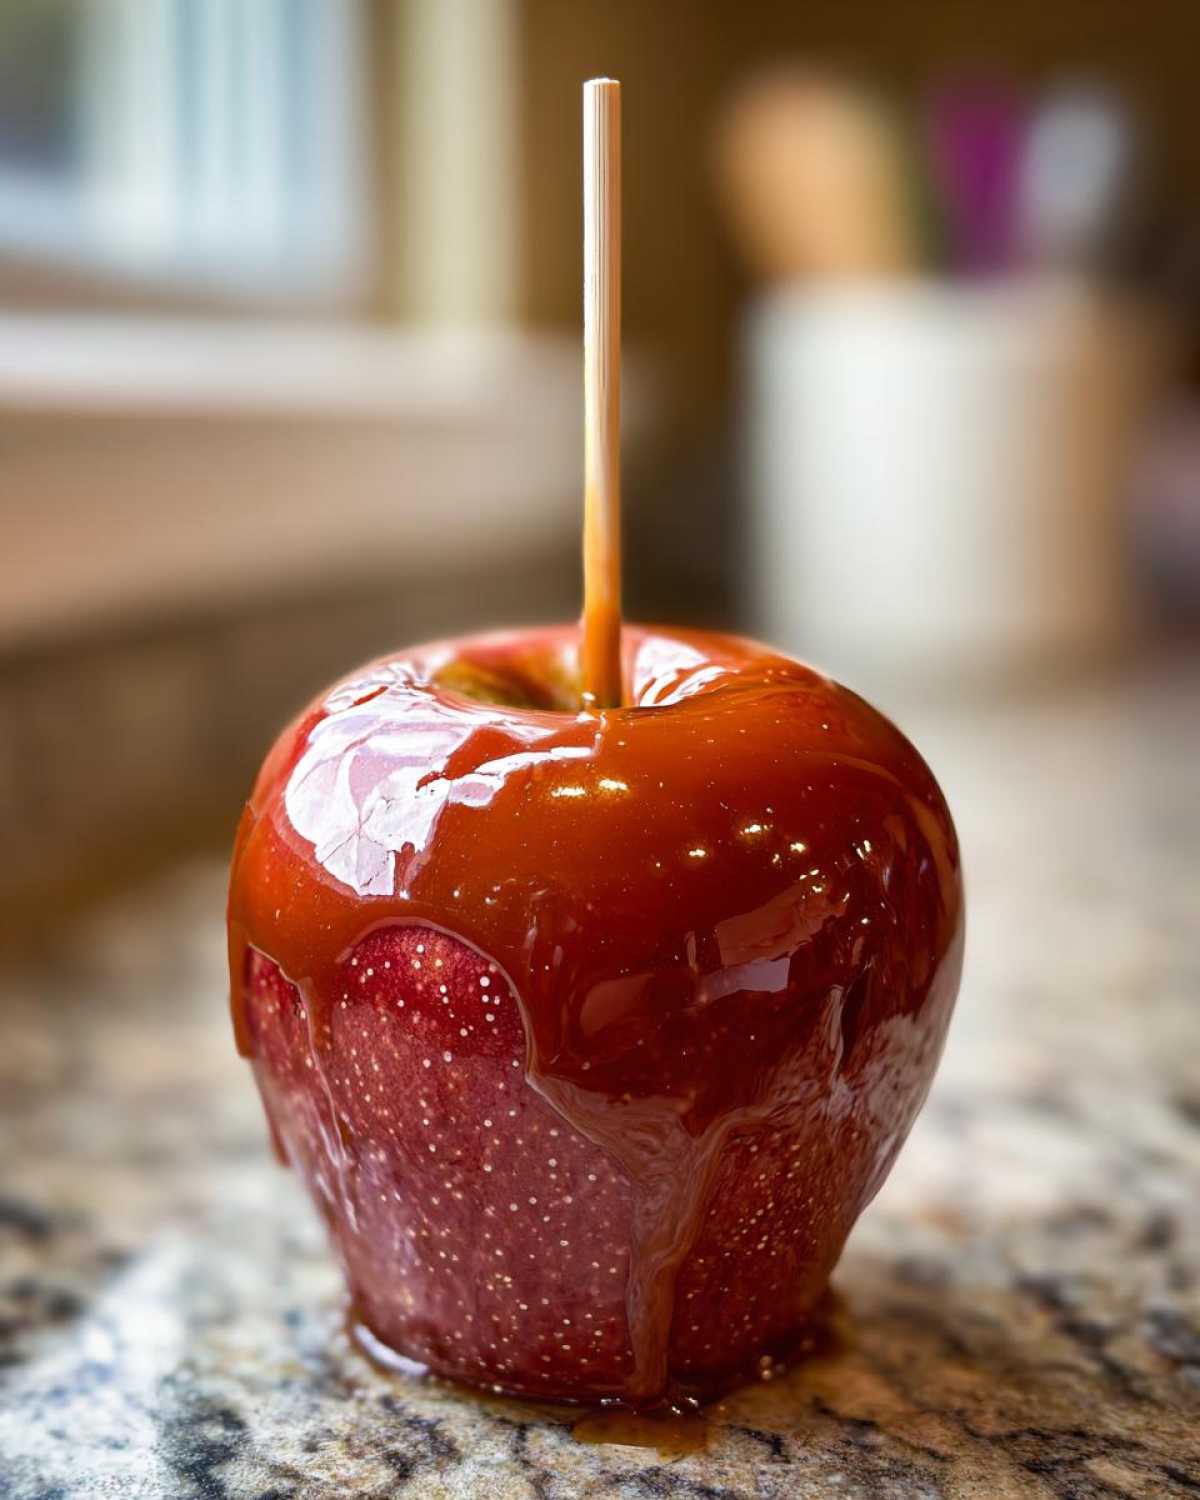
We’re using a few special steps to make sure the caramel adheres beautifully, and I even included a link below to my favorite baked treat that uses similar flavors if you want another autumn hit from the oven. Check out my Salted Caramel Apple Pie Bars while you’re here!
Why You Will Make These Foolproof Homemade Caramel Apples Again and Again
I keep coming back to this recipe for a few huge reasons, and honestly, you will too once you try it. It’s all about eliminating those classic kitchen nightmares we all face when dealing with candy making. These treats are just foolproof!
- You get that perfect, classic heirloom flavor—that deep, buttery goodness we all look for.
- The coating is guaranteed to stick! Seriously, after you follow my prep tips, you won’t have to worry about a single drip sliding off.
- The texture is heaven: chewy enough to satisfy that candy craving but still soft enough to bite through easily.
- It’s unbelievably fast once you get rolling, making it perfect for unexpected fall baking days.
Trust me, once you nail this, you’ll be making them all season long! It’s just the best feeling to pull off a perfect, sticky caramel apple!
Selecting the Best Apples for Perfect Caramel Apples
Choosing the right apple is truly half the battle when making homemade caramel apples. If you pick something too soft, like a McIntosh, your beautiful caramel coating will end up slipping off onto the cooling rack. No thanks! We need structure and a little bit of tartness to cut through that rich, sugary sweetness. Hands down, my favorite, the gold standard, has always been the Granny Smith. They’re firm, they hold their shape beautifully, and their tartness is the perfect foil for the heavy caramel.
But the best apple in the world won’t stick if you skip one crucial step. You have to strip off all that natural wax coating first, or the caramel has nothing to grip onto! If the apples look super shiny right out of the bag, they need a good scrub. And if you’re making these for a party, why not check out my recipe for Apple Cinnamon Pull-Apart Bread while your apples soak?
The Essential Prep: Washing and Sticking Apples for Caramel Apples
Here’s what you need to do right before you even think about boiling sugar: give every single apple a good, long dip in hot water. Swish it around for about 10 seconds—this helps loosen up that waxy coating that prevents sticking. Rinse them immediately in cold water and then—this is important—pat them absolutely bone-dry with a clean kitchen towel. Seriously, dry them like you mean it!
Once they’re dry, twist out the tiny stem and push your wooden stick right into the center where the stem was. Push it down until it feels snug and secure. If the stick wobbles, the caramel will be a headache later!
Ingredients for Classic Sticky Caramel Apples
Okay, let’s talk about what goes into this magical, foolproof coating! For about a dozen apples, you’ll want to have these items ready to go before you turn on the stove. Remember, when you’re dealing with candy, having everything measured out—your mise en place—is the secret weapon against burning or crystallization. We need two cups of that plain granulated sugar, a full cup of light corn syrup, and make sure you’re grabbing heavy cream, not half-and-half, because we need the fat content!
You’ll also need one full cup of unsalted butter—and yes, it needs to be real butter, the good stuff! Finish that off with a teaspoon of vanilla for depth and just half a teaspoon of salt to balance all that sweetness.
Step-by-Step Instructions for Perfect Caramel Apples
This is where the magic happens, but remember, candy making requires a little respect! Get yourself a good, heavy-bottomed saucepan—you don’t want hotspots scorching your beautiful mixture. Combine the sugar, the corn syrup, heavy cream, and that full stick of butter. Turn the heat to medium and stir constantly until that sugar is totally dissolved. Once you see it start to bubble up, you stop stirring immediately! I mean it, walk away from the spoon!
Now you bring out the candy thermometer! You must cook this until it hits exactly 245 degrees Fahrenheit. That’s your “Firm Ball Stage,” and it’s the literal key to those wonderful **classic sticky caramel apples** that don’t run everywhere. Once it hits 245°F, yank that pot off the heat right away. Stir in your vanilla and salt—it’ll bubble up a bit, so stand back! Let it rest for about five to ten minutes; this cooling time lets the caramel thicken up just enough so it clings perfectly. If you’re feeling thirsty after all that stirring, I have a Maple Apple Cider Fizz recipe that pairs perfectly with these desserts!
Caramel Dipping Tips for Your Homemade Caramel Apples
When the caramel has cooled slightly, you’re ready for dipping. For the best adhesion, try to dip right when the caramel temp drops to about 235 to 240 degrees Fahrenheit. Tilt the pan sideways slightly—this lets you submerge the apple deeper without burning your fingers. Rotate the stick slowly to get an even coat all over your beautiful apple.
Once it looks coated, lift it straight up and let all those extra drips fall back into the saucepan. You don’t want huge globs hanging off the bottom! Then, immediately place your coated beauty onto that parchment-lined baking sheet. If you skip the parchment, you’re going to be scraping caramel off your counter for days, trust me on this one!
Gourmet Caramel Apples Tutorial: Toppings and Decorating Ideas
Okay, this is my favorite part—turning a classic into a showstopper! Once your apples are dipped and that beautiful caramel is still wet and a little tacky, you have just a few seconds to get your toppings on before the caramel starts to harden up completely. This is where we move from great treats to show-stopping party centerpieces, perfect for a little caramel apple decorating ideas session!
You can go as simple or as wild as you want. For my go-to gourmet setup, I always have three main stations ready. First, finely chopped pecans or walnuts—because that crunch with the chewy caramel is unbeatable. Second, lots of fun sprinkles if the kids are around! Third, and this is the best idea, a drizzle of melted chocolate.
If you’re doing the chocolate drizzle, you can make a quick batch of my Miso Caramel—just kidding! But seriously, that rich flavor pairs so well. You can find my recipe for Miso Caramel Brownies, and that caramel works as a perfect, salty contrast to the sweet apple. Just melt dark chocolate chips with a tiny bit of coconut oil, load it into a piping bag or zip-top bag with the corner snipped off, and go crazy with stripes!
For a totally different vibe, try rolling them immediately in toasted coconut or crushed pretzels. This recipe is great for setting up a fun caramel apple bar inspiration setup! And if you need other fantastic fall spices, you must check out my Cinnamon Sugar Apple Cider Donuts—they use similar cozy spices.
Troubleshooting Common Issues with Caramel Apples
Even with my foolproof instructions, sometimes things go a little sideways in the kitchen. Don’t panic if your first batch isn’t perfect, especially if you’re aiming for that perfect adhesion we talked about—learning **how to make caramel sauce stick to apples** is a skill!
If your caramel is sliding off when you take the apples out of the fridge, you missed a step on the prep work. Go back and really focus on washing off that waxy exterior and then patting those apples completely dry. I can’t stress enough: no moisture equals better stick!
If your caramel turned out rock hard when it cooled, you cooked it too long or let it cool down too much before dipping. Remember, we pull it at 245°F, but we want to dip around 240°F. If it seizes up and gets grainy in the pot, sometimes you can save it by stirring in a tiny splash of hot heavy cream—just a tablespoon!—over very low heat until it loosens up again. It’s all about trial and error, but mostly temperature!
Storage and Serving Suggestions for Caramel Apples
Once you’ve perfected your gorgeous, sticky caramel apples, the biggest question is always, “How do I keep them looking this good?” Honestly, I prefer serving them the day I make them, but if you have leftovers, skip the fridge! Cold air makes the caramel stiff and can encourage sweating. Keep them wrapped loosely on the counter at cool room temperature for up to two days.
If you need to hold them longer, you can wrap each one individually in plastic wrap and place them in the fridge, but let them sit out for a good hour before serving so that caramel gets nice and pliable again.
For a real treat, these are amazing paired with something cool and bubbly. They are fantastic alongside a glass of my Sparkling Apple Cider Sangria—it just doubles down on that perfect autumn flavor!
Frequently Asked Questions About Making Caramel Apples
I figured you might have a few lingering questions about getting these **easy caramel apples** just right, especially if this is your first time making candy at home. It’s normal! Here are the things I get asked most often about achieving that perfect coating for fall and Halloween treats.
Can I skip the corn syrup in my caramel apples recipe?
Oh, I really wouldn’t recommend it if you want that classic, non-gritty texture! Corn syrup is vital because it’s an invert sugar, which means it stops the regular granulated sugar from crystallizing on you. If you skip it, you’re likely going to end up with crunchy, grainy caramel instead of that beautifully smooth coating that makes the best **homemade caramel apples recipe** so famous. Stick to the syrup!
What temperature ensures my caramel apples are not too soft?
Consistency is what we are chasing here! You absolutely must hit that **Firm Ball Stage**, which is 245 degrees Fahrenheit when you pull it off the heat. Once it cools down a bit—and this is key for dipping—you want to try and work with it when it’s closer to 235 or 240 degrees Fahrenheit. That slight drop gives you time to coat the apple and lets the caramel set up perfectly without being rock hard.
If you’re feeling ambitious after reading this guide, you can try turning your leftover caramel into something amazing like my Caramel Apple Nachos! It’s a great way to use up any extra sauce.
Estimated Nutrition for Classic Caramel Apples
So, we’ve made the ultimate fall treat, and now we have to talk about the numbers, right? Whenever I tackle candy making, I know this isn’t exactly “health food,” but it’s nice to know what you’re working with when you offer these up at a party. I ran the numbers based on this recipe yielding 12 full-sized apples, and these figures are definitely estimates, so take them with a grain of salt—or maybe a drizzle of chocolate!
This recipe uses a lot of real butter and sugar to get that perfect texture and stickiness, so naturally, the energy count is up there, but hey, it’s October, and these are worth every bite!
| Serving Size: 1 Apple | Value |
|---|---|
| Calories | 450 |
| Total Fat | 20g |
| Carbohydrates | 70g |
| Protein | 2g |
| Sugar (Total) | 65g |
If you want to read a bit more about me and why I love sharing these family-tried recipes, you can always hop over to the About Us page! Happy baking, everyone!
PrintFoolproof Homemade Caramel Apples

Make classic, sticky caramel apples that hold their coating perfectly every time. This guide covers the best apples and techniques for a guaranteed non-runny caramel.
- Prep Time: 20 min
- Cook Time: 25 min
- Total Time: 1 hour 45 min
- Yield: 12 apples
- Category: Dessert
- Method: Stovetop Cooking
- Cuisine: American
- Diet: Vegetarian
Ingredients
- 12 medium firm apples (Granny Smith recommended)
- 2 cups granulated sugar
- 1 cup light corn syrup
- 1 cup heavy cream
- 1 cup (2 sticks) unsalted butter
- 1 teaspoon vanilla extract
- 1/2 teaspoon salt
Instructions
- Wash and thoroughly dry the apples. Remove the stems and insert a sturdy wooden stick firmly into the core of each apple.
- In a heavy-bottomed saucepan, combine the sugar, corn syrup, heavy cream, and butter.
- Heat the mixture over medium heat, stirring constantly until the sugar dissolves. Stop stirring once it boils.
- Continue to cook the mixture without stirring until it reaches 245 degrees Fahrenheit (Firm Ball stage) on a candy thermometer. This usually takes 15 to 20 minutes.
- Remove the pan from the heat immediately. Stir in the vanilla extract and salt. Let the caramel cool for about 5 to 10 minutes until it thickens slightly.
- Tilt the pan and dip each apple into the caramel, rotating to coat completely. Lift the apple and allow excess caramel to drip back into the pan.
- Place the coated apples on a baking sheet lined with parchment paper or a silicone mat.
- Let the caramel apples set completely at room temperature for at least 1 hour before serving or adding toppings.
Notes
- For the best adhesion, dip the apples when the caramel temperature is between 235 and 240 degrees Fahrenheit after the initial cooling period.
- If the caramel becomes too thick while dipping, return it to low heat briefly to loosen it, but do not let it boil again.
- Use firm, tart apples like Granny Smith; softer apples may slide off the coating.
- For gourmet apples, roll the dipped apples in chopped nuts, sprinkles, or drizzle with melted chocolate before the caramel sets.
Nutrition
- Serving Size: 1 apple
- Calories: 450
- Sugar: 65
- Sodium: 120
- Fat: 20
- Saturated Fat: 12
- Unsaturated Fat: 8
- Trans Fat: 0
- Carbohydrates: 70
- Fiber: 1
- Protein: 2
- Cholesterol: 75